A Winter Guide to Bryce Canyon National Park
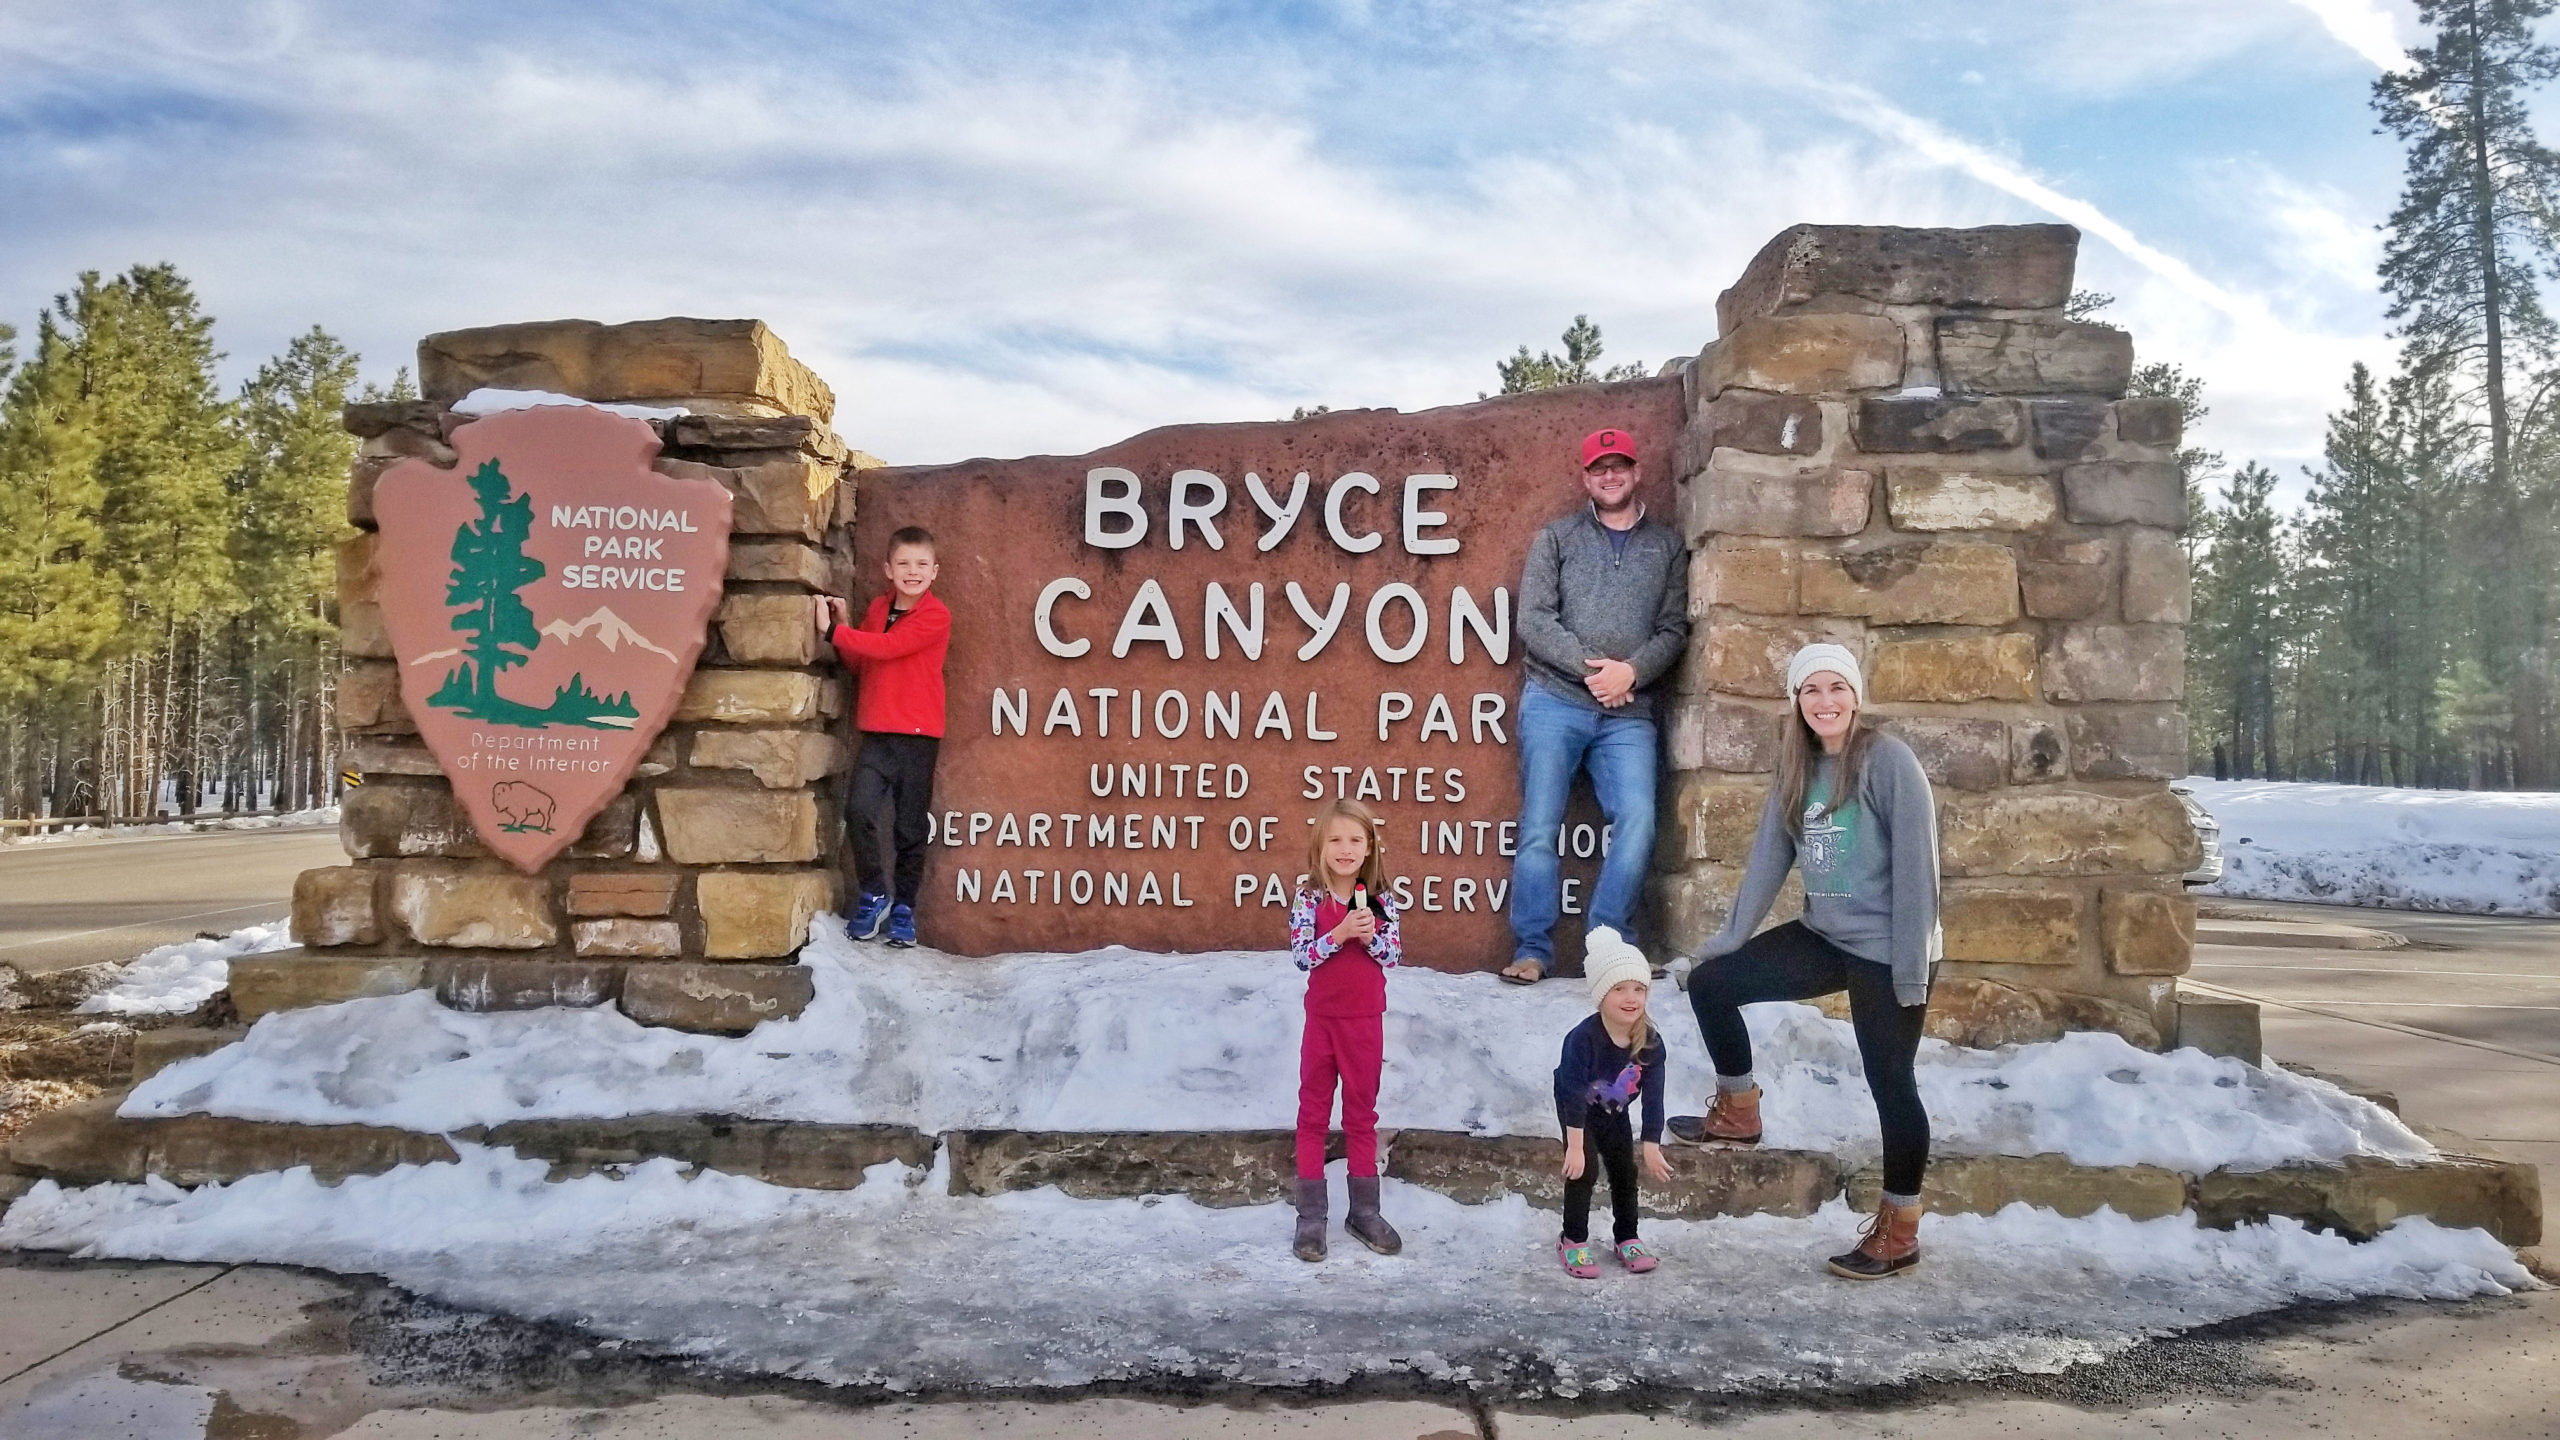
Bryce Canyon National Park is truly a sight to behold, and a must visit when exploring Utah! Bryce Canyon is known for it’s red-orange, spire-shaped rock formations called hoodoos that expand across a vast amphitheater landscape.
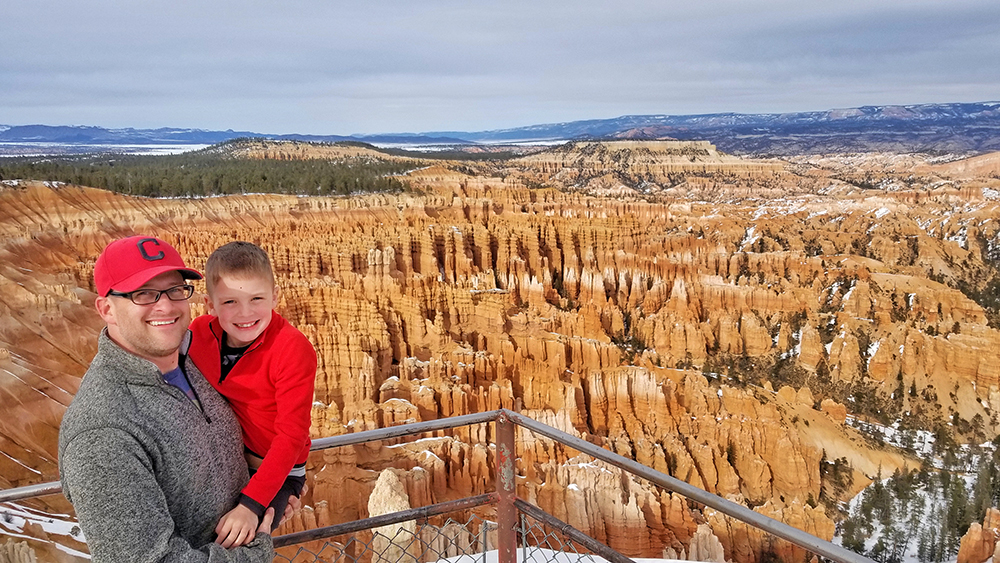
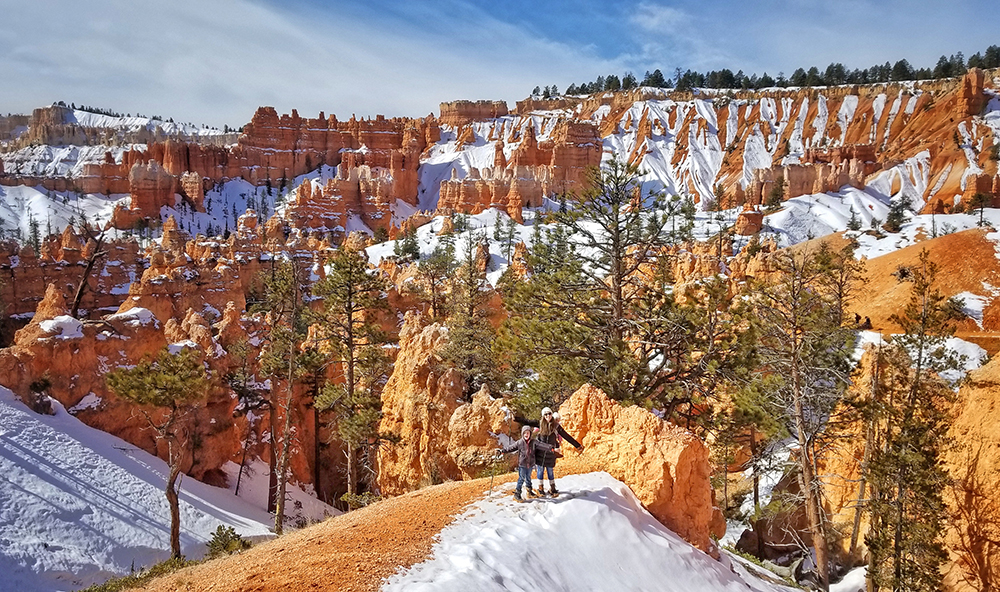
We visited at the end of February, and there was a beautiful blanket of snow on the ground and capped on the hoodoos. There are some things you should know about a visit to Bryce in the winter months that will be helpful for planning a trip! Don’t shy away from visiting in the off season- with cool temperatures and few crowds, this is actually a great time to go. You’ll also be blown away at how the snow adds to the beauty of the landscape.
What we really appreciated about this park was its accessibility. At the park entrance, most of the main points of interest are only a short drive away. This is convenient if you plan to stay outside of the park, you won’t spend too much time driving to where you want to go!
Park Fees:
The entrance fee for Bryce Canyon is $35 and is good for 7 consecutive days. We recommend buying a US National Parks annual pass for $80, which is good for 12 months and gives access to over 2,000 government recreational sites!
Where to Stay:
Camping inside the park…
Bryce Canyon National Park has two campgrounds – North and Sunset, which range from $20-$30/night (Tent/RV)
If camping isn’t your thing, the Bryce Canyon Lodge offers hotel style accommodations as well as cabin rentals! Click here for more information.
North Campground
North Campground offers amenities such as potable water, dump ($5 fee), restrooms and showers. There are no electrical or water hookups. Loops A & B are can accommodate RVs and allow generator use, and Loops C & D are for tent camping and generator use is prohibited. Many amenities like the dump station and potable water are closed in the winter season.
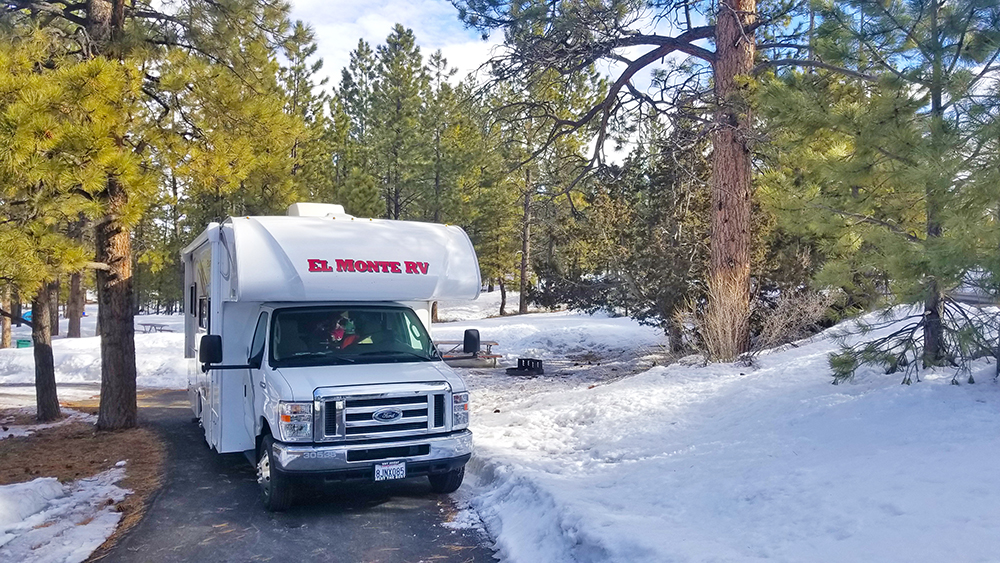
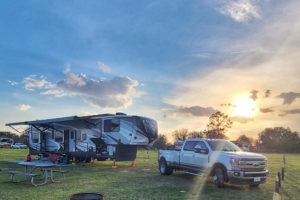
We camped in the North Campground on our second night in Bryce Canyon. Our kids LOVED playing in the snow right outside our camper and even made friends with some fellow camping kids! Only Loop A was open when we visited in February- and was a mix of tent and RV camping.
This campground is close to the Visitor’s Center, where you can hop on the shuttle bus to get around the park. FYI: The shuttle does not run in the off season.
Sunset Campground
Sunset Campground is only open seasonally from May-October. It is compromised of 3 loops- A, B, and C. Loop A is for RV’s, and B and C are for tent camping. There are no hookups at this campground.
Amenities include restrooms, picnic tables and fire rings with grills. Laundry and shower facilities are available at the general store nearby during the summer months. There is also a Bryce Canyon Shuttle stop at the campground’s entrance. This campground is the closest to Sunset Point, which is the start to many popular hiking trails.
Camping outside the park…
Boondocking/Dispersed camping locations:
These are all right outside of the park entrance. However, the roads were inaccessible in the snowy, winter conditions when we visited. We had planned to stay at Tom’s Best Spring for two nights since it was free, but we had to scramble to find a plan B when we couldn’t access the road!
-Fire Road 117 “Toms Best Spring Rd”
-Forest Road 088
-Fire Road 090
Ruby’s Inn & RV Resort:
Ruby’s Inn is a very popular accommodation in town. We stayed here the first night in Bryce after our boondocking fiasco. Ruby’s Inn is only a mile from the park entrance, and offers tons of amenities including Wifi, full hookups, laundry facilities, pool/hot tub (seasonal), showers and restrooms.
Ruby’s Inn is also a hotel (Best Western Plus), in case you need to break from camping! There is also a restaurant, general store and post office on site.
Since we visited in the winter and it was about 5 degrees outside at night, we didn’t go outside our RV and look around the property. Our off-season nightly rate, including our El Monte discount, was $45.
Family Friendly Hiking:
Our selection of hiking options was a limited due to winter weather and seasonal closures. Hiking in the snow is more of a workout on the legs than other seasons, in our opinion. But the snow covered landscape is beautiful!
Rim Trail
This easy 1 mile paved trail is easy and offers spectacular views of the amphitheater, from Sunset to Sunrise Point.
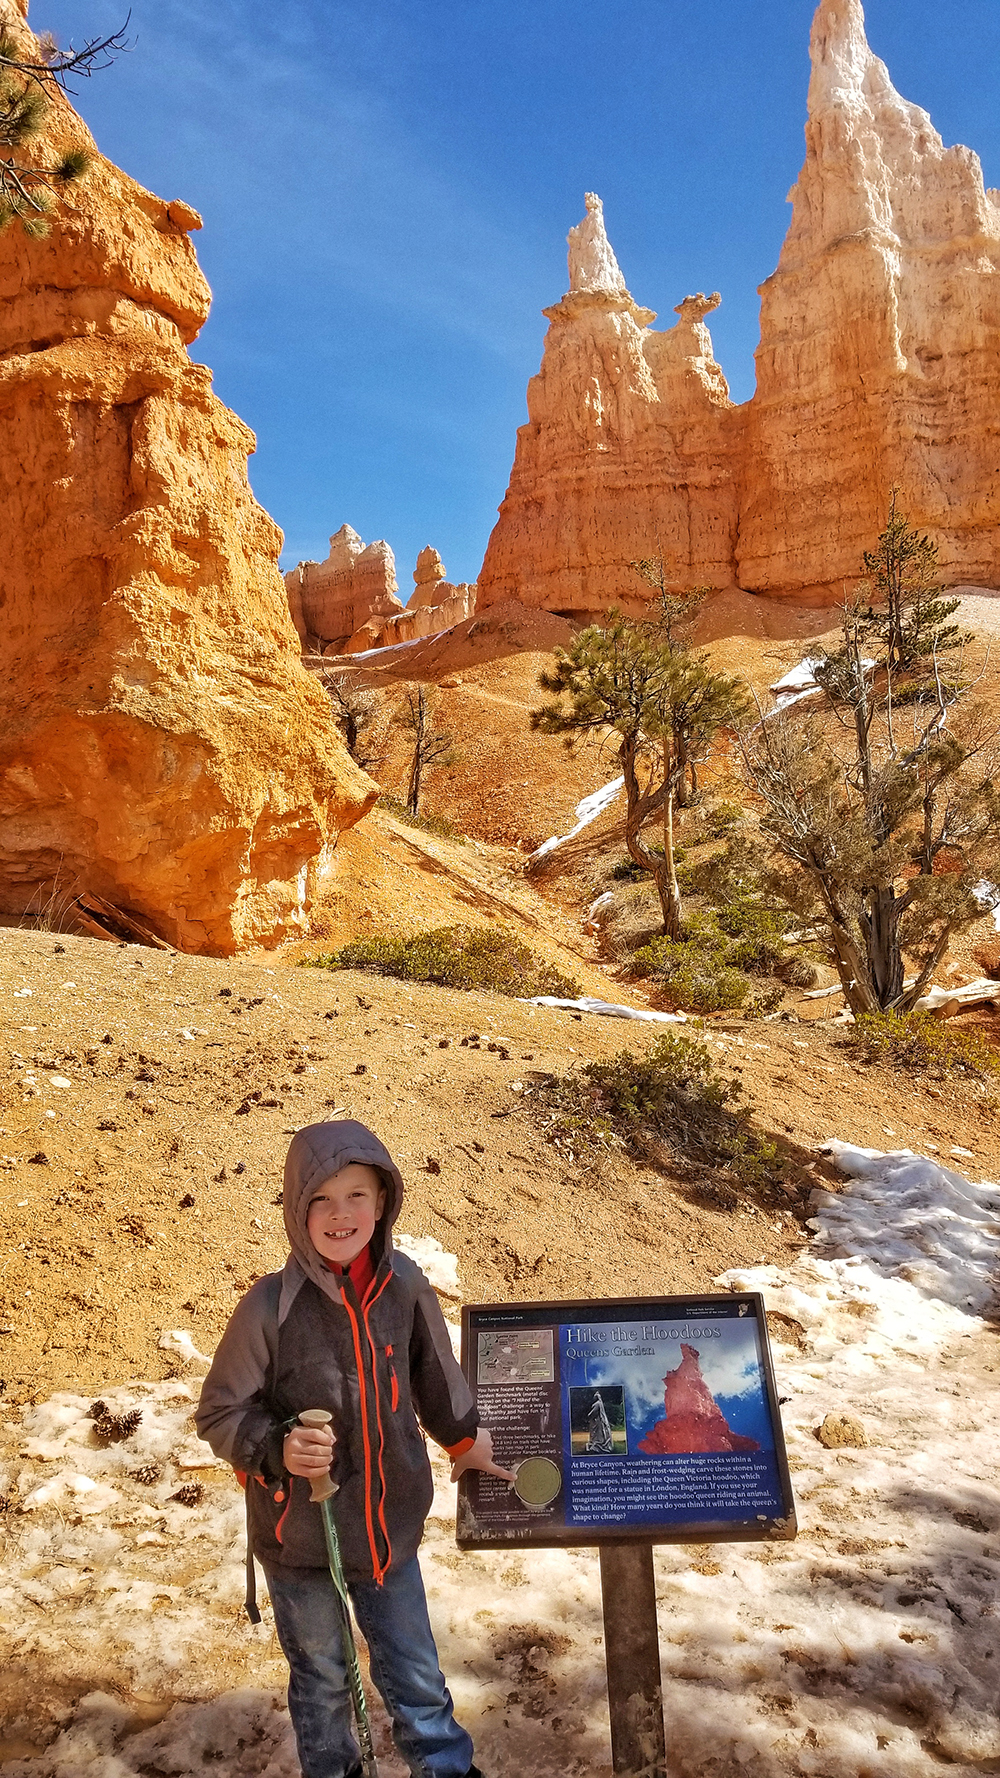
Queen’s Garden Trail
This trail starts at Sunrise Point and descends into the amphitheater, and is .9 mile hike. You’ll see hoodoo’s and see Queen Victoria herself (or a rock formation that looks like her at least!) At the trail end, you can either hike back to Sunrise Point the way you came or continue on to the Navajo Loop Trail, making the trek 3 miles total.
Navajo Loop Trail
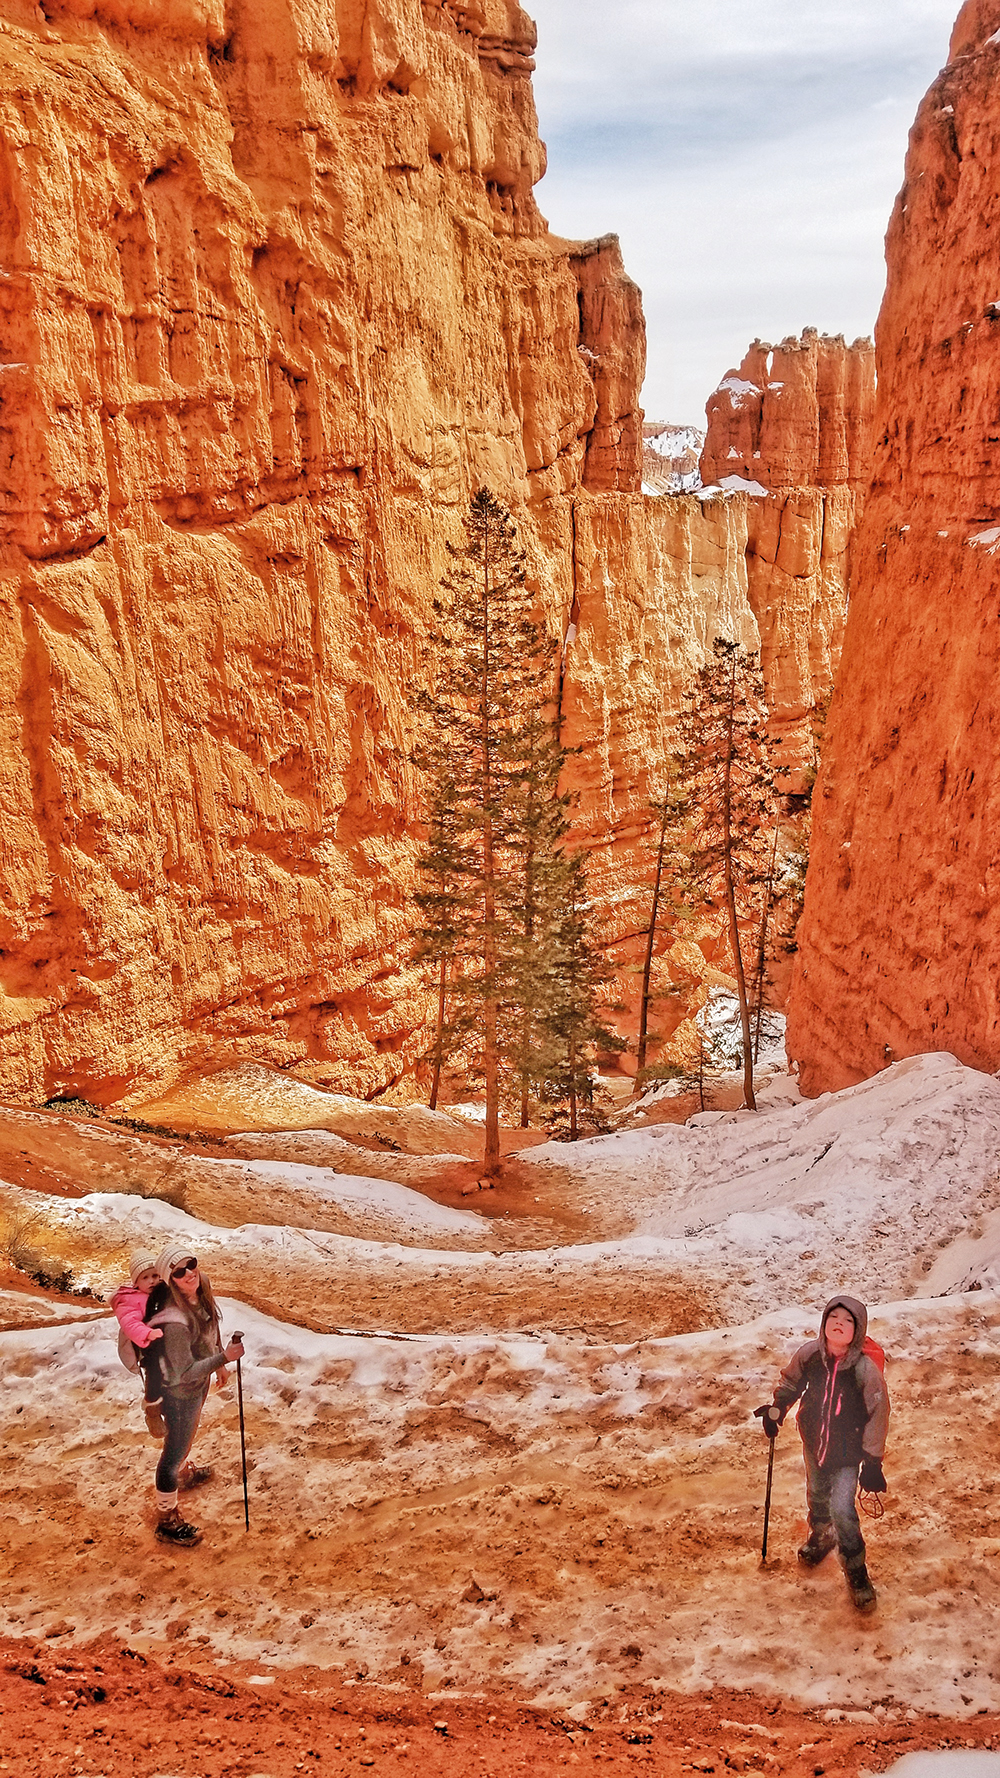
The Navajo Loop Trail is a 1.5 mile loop starting at Sunset Point. It is listed as a “moderate” difficulty trail, due to the hilly climb. We felt that it was family-friendly, just take it slow and steady with kids, and you’ll be fine!
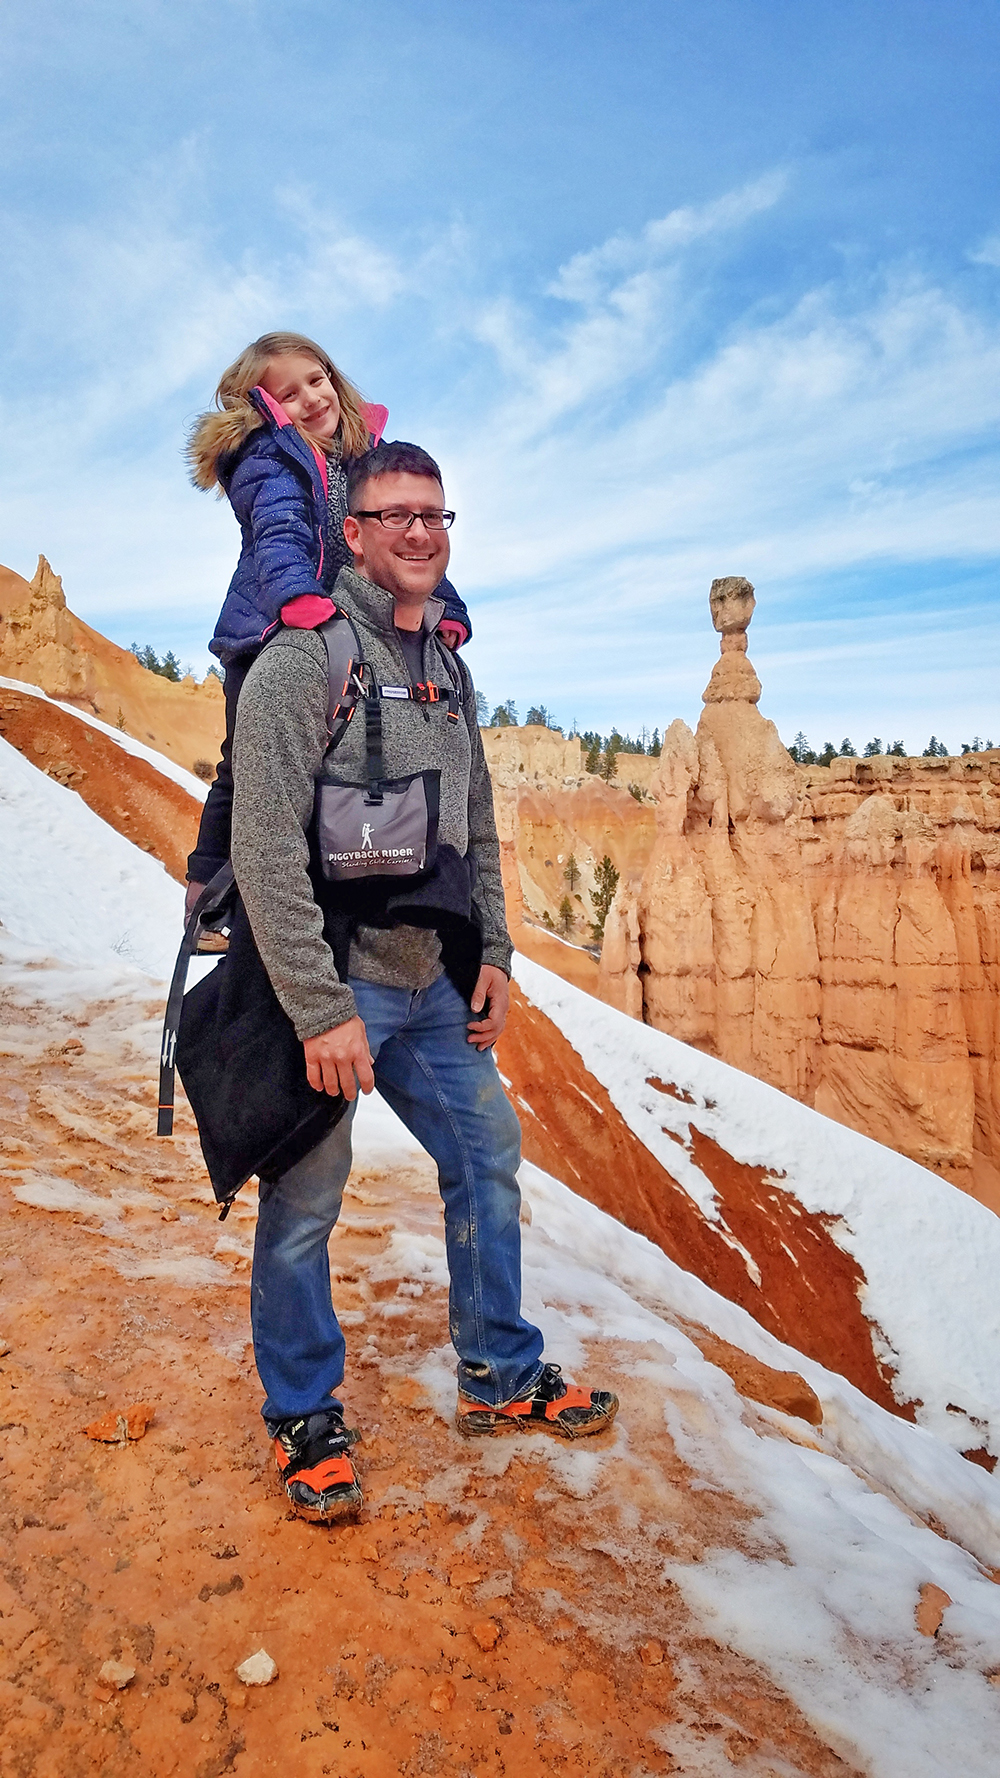
This trail offers a trek up or down the famous Wallstreet, a series of switchbacks surrounded by red rock walls. You’ll also be able to see Thor’s Hammer, a popular hoodoo, up close. You can combine the Queen’s Garden Trail and Navajo Loop trail for a longer, 3 mile hike and explore more!
Other Family Friendly Activities
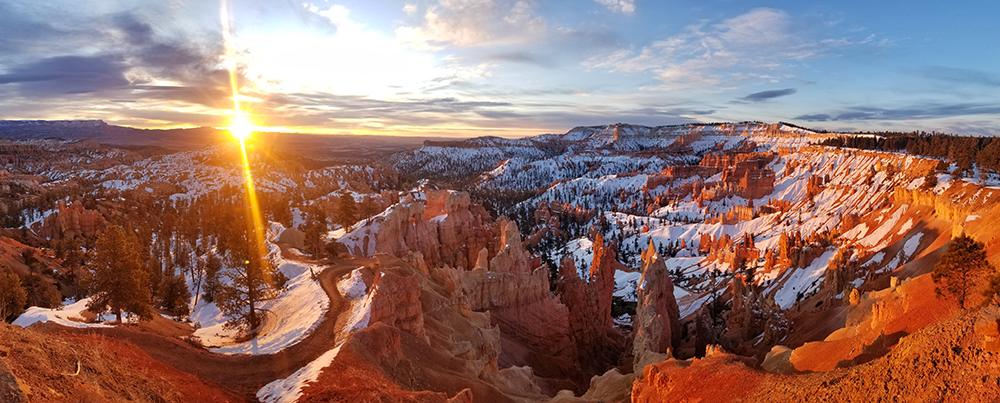
Watch the sunrise or sunset
Waking up early for the sunrise is worth it, we promise! Watching the colors light up the hoodoos and rocks in the amphitheater is a treasure for the eyes. You can watch either the sunrise or sunset from the appropriately named Sunrise or Sunset Points.
Earn a Jr. Ranger Badge
Kids can pick up a free Jr. Ranger book at the Visitor Center, and complete the required activities to earn their Jr. Ranger Badges! They can work on their book while they hike and explore, then come back to the visitor center and be sworn in as a Jr. Ranger. Short on time? Kids can fill out the book in their spare time and send it in, and the park will mail their Jr. Ranger badge to them!
Recommended Winter Gear & Tips:
For hiking in Bryce Canyon in the winter/spring months, here is a list of gear that will be very helpful:
Crampons. aka ice cleats, or traction grips… They simply attach to your shoe and help tremendously to walk on ice and slippery spots. We even bought a pair for our son who completed the 3 mile hike. You can buy them in various sizes here.
Hiking Poles. These help with stability while navigating slippery slopes. They fold up easily and are compact to travel with and store in a backpack! You can find hiking poles in a variety of colors here.
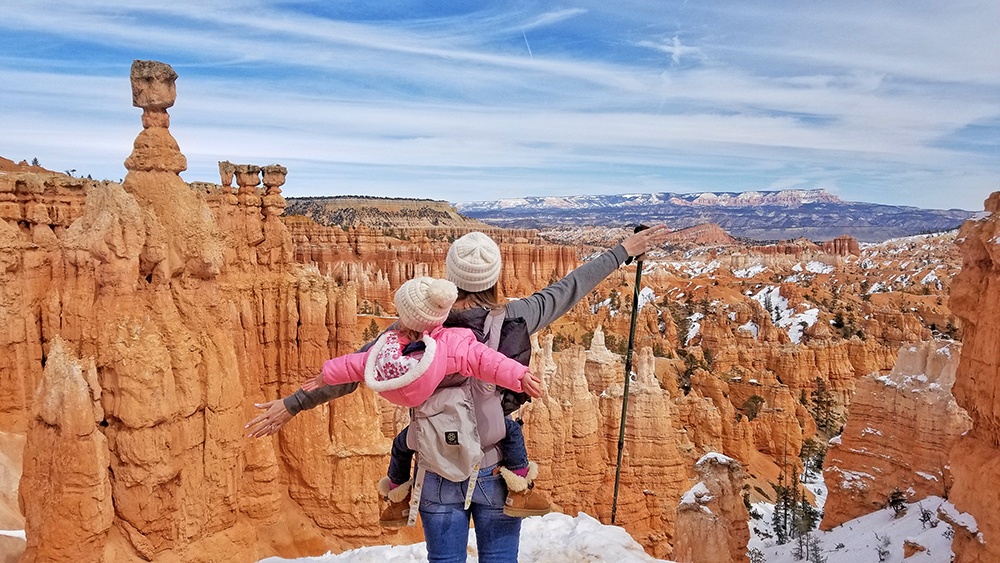
Kid carriers. We use our Lillebaby carrier for our youngest, and our Piggyback Rider to carry our 5 year old when her legs were “too tired” or the trail was too slippery for her to walk.
Winter Hiking Tips:
Dress in layers. It’s better to feel too hot than to be too cold on the hike, and being able to remove a layer or two is key to staying comfortable!
Take water and snacks. It actually takes longer to hike in snowy conditions, meaning you could be on the trail longer than you planned!
Make sure you have warm socks and comfortable footwear that has good traction. If the paths are icy, it’s a good idea to have crampons/ice cleats!
We hope you enjoyed this winter guide to visiting Bryce Canyon National Park, and hope these tips and ideas help you in planning your future trip! This post contains affiliate links, and if you purchase something by clicking the link, we may receive a small commission at no additional cost to you. Thank you for supporting our travel fund!



Leave a Reply
Get in touch with us!