Disney Planning for Dummies: 12 Tips for Planning a Magical Disney Vacation
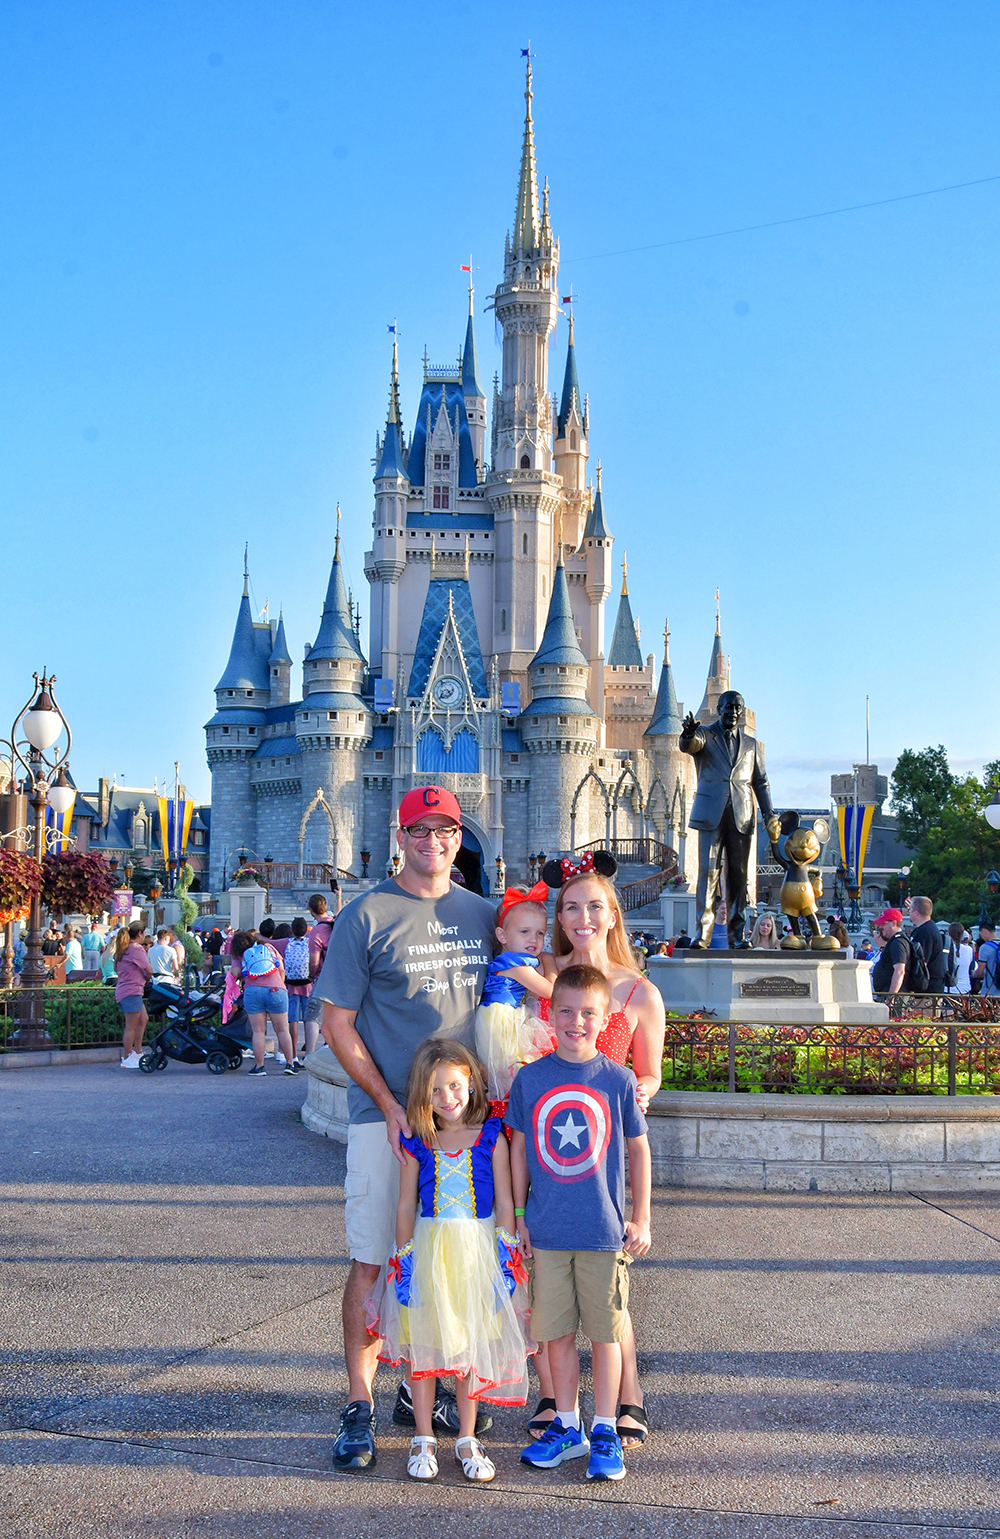
Hi, I’m Molly. I survived planning our first big Disney vacation on my own! I opted not to go with a Disney Planner because I (probably) have control issues. In all honesty, I wanted to know the all of the details of our vacation, since no one knows my kids better than ME. Disney planners are FREE by the way, so if you don’t want to deal with planning, by all means go with a planner!
I consider myself a total Disney Dummy…meaning I’d never planned a big Disney vacation before. There is SO MUCH information about Disney out there, it can feel overwhelming. I made careful notes throughout the entirety of my planning in order to share with you everything I learned along the way. This is by no means a thorough and complete list, or a guide for planning a Disney vacation on a budget, but rather a list of things I felt were most important in the planning process. Things that I felt would be very helpful to someone new (like me!) to planning a Disney trip!
The Beginners Guide
to Planning a Disney Vacation:
1) Start Early.
Dining reservations open up 6 months in advance! Start planning early so you can snag a few dining experiences such as character dining and other places you want to try! If you are staying at a WDW hotel, you can book dining reservations 180 days before your arrival date. You are able to book dining for your entire stay, not just the release of the first day of your trip. Reservations can be made online at 6am EST the day your reservations open, through the My Disney Experience App, or by calling (407) WDW-DINE.
2) Stay on Property.
Look for their sales and specials going on throughout the year. But trust me on this, the ease of staying on property and not having to deal with renting a car, hauling car seats and parking on the daily IS THE BEST. Literally, a vacation. Whatever amount of money you may save by staying at an off-site hotel or Airbnb in Orlando may not be worth the hassle if you are able to work it in your budget.
Here are just some of the benefits for staying on a Disney property:
–Advanced Dining Reservations like I mentioned above. As a resort guest, you have first dibs on highly sought after dining options!
–Early access to FastPass+. You can reserve your FastPass+ reservations 60 days before your arrival date.
–Free Transportation from the airport (Magical Express) as well as around the parks. Disney has several transportation options that operate around the WDW properties: monorail, ferryboat, the new Skyliner, or bus!
–Free Parking! If you do rent a car, parking is free for resort guests at Theme Parks and Disney Springs Area. However, resort guests are still charged a parking fee to park at the resort.
–Free Magic Bands! Magic Bands are wonderful colorful bracelets that act as your room key, theme park ticket, your FastPass+ reservations, dining credit redemption, and a way to charge things to your room/account. Don’t worry, you can set a password for your kids’ Magic Bands so that they don’t charge all of the Disney Store on your card!
–Extra Magic Hours. These are bonus hours that a park is open an hour early or stays open two hours late. Only WDW resort guests are eligible to enter/stay in the park for Extra Magic Hours. There are pros and cons to this…since the park with the extra magic hours will be more crowded. For us, our kids are early risers and being able to go to the parks early worked well with our kids’ natural schedule.
–Location! Staying within the WDW area and only a short ride away from the hotel if the kids (or adults!) need a mid-day break is a lifesaver.
3) Consider the Disney Dining Plan.
There are different categories for the dining plan, so there’s a possibility that it fits your budget. If your idea of a vacation includes not worrying about food, then this is for you! For our vacation, we took advantage of Disney’s offer of FREE dining plan for select dates. Disney comes out with this special promotion 1-2 times a year. I heard that the dining plan wasn’t worth it, but that wasn’t the case for us! We were able to book character dining for almost every day of our trip (character dining is INCLUDED in the Disney Dining plan, btw.) Read our blog post for EVERYTHING you need to know about the Disney Dining plan here.
4) Rent a Stroller.
Did you know there are other options besides hauling your stroller from home or having to rent a big, uncomfortable honking one at the park? There are some fantastic stroller rental companies in Orlando that will deliver a stroller to your hotel AND pick it up at the end of your trip! You’ll be surprised that a stroller rental is cheaper than rentals at the park, plus you can rent quality brand name strollers! We went with Orlando Stroller Rentals and we’re VERY impressed with the quality, service, and ease of renting a stroller for our vacation. We received a City Mini GT Double Stroller, which included a parent console, rain cover, and an storage area under the seat …perfect for storing our things on park days! For information on renting a stroller from Orlando Stroller Rentals, visit their website here.
5) Stay Flexible and Take Breaks.
I made a daily itinerary of all the things we wanted to see and do, but sometimes the kiddos were too tired or not interested in a particular activity. We took mid-day breaks every day, that included a two hour naptime at the hotel for ALL. We went to the parks in the morning, took a break during the hottest part of the day, and went back to the parks or did an activity at night. We had also planned a full day at Animal Kingdom and Epcot, but no one was impressed with either of those parks, so we left early and went to Magic Kingdom instead (the beauty of the park hopper ticket!) All that to say, be attentive to what the kids want to do, their exhaustion levels, and do what’s best and enjoyable for all. Staying flexible with schedules and activities will make everyone happy! I’ll say it again, it’s not important that you do and see everything on your trip!
6) Learn all about FastPass+ and Rider Switch.
FastPass+ allows park guests to book attractions and rides in advance to save time waiting in lines. Guests staying at WDW properties are allowed to book their selections 60 days before the check in date of their trip (and book for the entire length of their stay) while guests staying off property can book 30 days in advance of each day of their park visit.
FastPass+ Tips:
-Make a list of which rides and attractions you want to see (and what works for your family) at each park. It’s important to research which of these attractions tend to be popular (longer lines) so that you can use a FastPass+ for these. On the morning that your travel dates are released, be ready to make your selections.
-Attractions are categorized by Tiers at Hollywood Studios, Epcot, and Animal Kingdom. All attractions at Magic Kingdom are all the same Tier. With FastPass+, you can book 1 attraction from Tier 1 (which are the most sought after rides), and 2 attractions from Tier 2, OR 3 Tier 2 attractions.
-There is no need to book FastPass’s right when the park opens. If the park opens at 9am, try and map out a few attractions or rides to do from 9-10am, and then make FastPass+ reservations after 10am.
-Space your 3 FastPass+ reservations close together. Once you’ve entered the ride or attraction on your 3rd FastPass+, you will be able to book another! For us (with little kiddos), it worked out to head back to the hotel for a break and then came back for our second round of FastPass+ rides in the evening, and then watched fireworks!
Rider Switch. Do you have younger children that don’t meet the height requirements, or may not want to ride a scary ride? Rider Switch is a way to stretch out your FastPasses and allow everyone to ride who wants to! Say you have a party of 5, with one child being a toddler. You need only make a FastPass+ reservation for 1 adult and 1 child (the first riders in the party.) This allows you to make another FastPass+ Selection for the other riders on a different ride at a later time. Simply show up to the ride entrance, and tell the Cast Member that you are doing rider switch, and they will scan everyone’s Magic Band. The first riders will enter the ride, while the second riders stay behind (with the toddler.) After the first riders exit the ride, the second riders can scan their bands, and ride!
As I was planning, I found an excellent resource covering this topic and more! For a detailed post about Disney World FastPass+ Tips and Park Plan Strategies, visit the Undercover Tourist blog here.
7) Plan a Break Day!
Our trip included one day of “rest” sandwiched between four full park days! On this day, we enjoyed a character breakfast, played in the hotel pool ALL day, napped and watched an outdoor movie at our hotel at night. It was a great way to relax and actually enjoy some down time in the midst of busy park days! Plus, our hotel pool at the Yacht Club was AWESOME. If you can swing it, I suggest planning a no-park day to just enjoy your hotel amenities!
8) Plan More Magic!
Plan something a little extra magical for the kids. Although Disney offers so much magic…surprise the kids with something extra.
Here are some ideas:
–Treasure Cruise: We did the Albatross Adventure Cruise because it was right at our resort. Kids ages 4-12 years old will dress up as pirates and go on a boat ride adventure around the “high seas” of the Disney property on a quest to find Pirate Stinky Feet’s buried treasure. The adventure costs between $39-$49, lasts 2 hours, they will be fed snacks and the parents get a mini 2 hour break! There are two pirate cruises offered at WDW, one at the Yacht Club, and one at the Caribbean Beach Resort. They set sail on different days of the week in the morning from 9:30-11:30. Call 407-WDW-PLAY to make a reservation!
–Bibbidi Bobbidi Boutique. This enchanted beauty salon offers makeovers for both boys and girls ages 3-12. This actually wasn’t as expensive as I thought it would be (we got the least expensive package for $64.95), and the entire experience was so fun! Our package included a beautiful hairstyle, makeup, nail polish, sash and keepsake bag of goodies. There is a Photopass photographer on site to capture your little ones’ makeover experience! Reservations can be made on the Disney Experience website, but they do book up in advance. We were able to book the experience 2 days before thanks to a cancellation!
–Jedi Training Academy– Jedi Training is a FREE experience for park guests ages 4-12 at Hollywood Studios. Younglings will be trained by master’s in how to fight with light sabers and how to use the Force against the Dark Side. It is on a first come-first served basis, and it’s best to sign up early in the day when you enter the park. Sign ups are located at the Indiana Jones Outpost. There is a Photopass photographer on site for the show and they capture really great shots!
–Bring Surprises! We had a daily delivery of “Mickey Mail.” These were notes from Mickey Mouse with a little surprise for the kiddos (that I brought from home) For instance, when we went to Epcot, Mickey brought them a bag of pennies and quarters for the penny press machines “around the world.” When we went to Magic Kingdom, Mickey gave them “Mickey Money” to spend on any souvenir at the gift shop. For us, it was a money saver because the kids received small souvenirs every day (no need to visit gift shops!) and then at the end of the trip they were able to go pick out something special that they wanted to buy.
–Get a pin! Are you celebrating a special occasion at Disney? (First trip? Birthday? Anniversary?) Be sure to visit Guest Relations for a free celebration pin and wear it proudly!
9) Consider Your Travel Dates.
Do you hate crowds? Then avoid major holiday or typical school breaks. Can you not stand the heat? Then do not go in the summer, it will be unbearable. You can expect a daily torrential downpour, thunderstorms and high humidity from June through August. Lighter crowds and more favorable weather will happen September through November, and January through February. Or right before school gets out for summer in late April or May will be good weather and not as high crowds as other times. The crowd calendar on WDW Prep School’s website is very informative on crowd level predictions, events going on, park Extra Magic Hour predictions, and other tips for when to plan your travel dates, website here.
10) Make a Plan.
Think of which park you will start your day visiting. This might even revolve around a dining reservation. If you plan to have reservations at a restaurant at Epcot, then you can plan your park day around that, depending if you have park hopper tickets or not.
Try to tie in your dining reservations at the park with the extra magic hours that day. Once you know which park you plan to spend each day at (or the majority of the day if you are park hopping) then you can plan for FastPass+ selections and other attractions around that. Once you have your initial FastPass+ reservations, write down which attractions or rides you want to get to between FastPass times. I highly recommend spending time (and planning FastPasses) in one area of the park before going to another area, to cut down on walking and wasted time.
11) Buy the Memory Maker Photo pass!
It seems pricey at $169, but you’ll receive all of the photos from your entire vacation. Professional photos and family shots are wayyyyy better than asking a stranger to take your picture!
12) Get the My Disney Experience Mobile App.
This will be your magical GUIDE for your vacation! Your vacation details including your hotel, park maps, show times, photo pass, dining reservations and fast pass times and more can all be accessed via the app! The app is especially helpful for seeing the current wait times for rides throughout the park.




Leave a Reply
Get in touch with us!