The Ultimate Guide to Hiking the Narrows with Kids
Note: This post contains affiliate links to products we love and recommend.
If you click these links, we may receive a small commission (at no additional cost to you).
Thank you for your support!
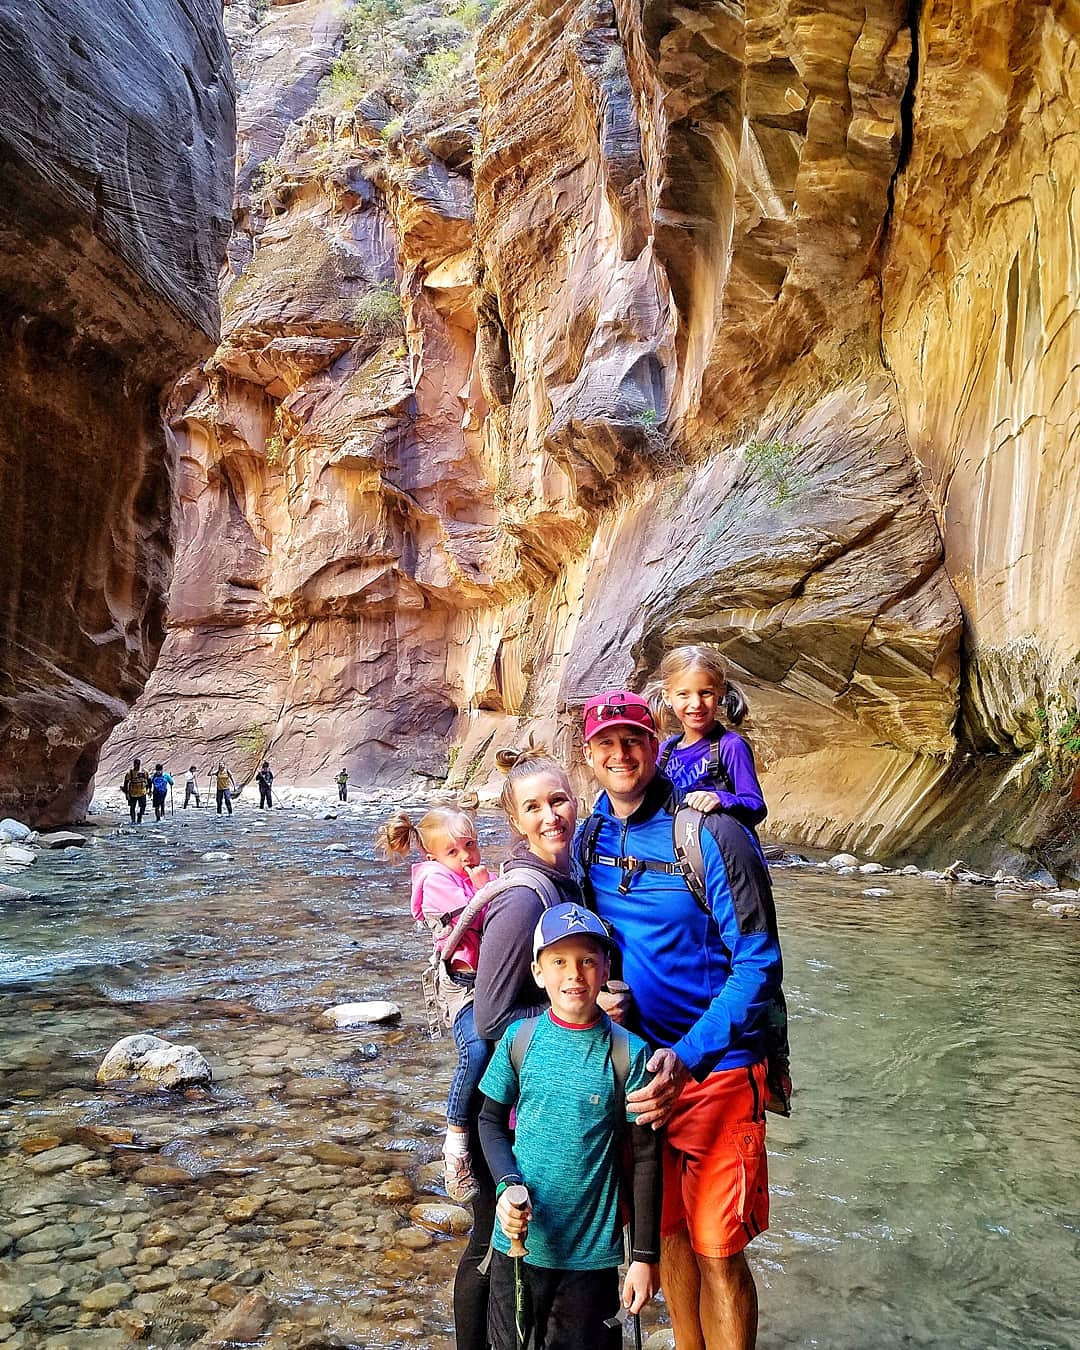
If hiking the Narrows isn’t on your bucketlist yet, it needs to be added ASAP. Nestled deep into Zion National Park, this trail winds through the canyons along the Virgin River. I promise you, you will be humbled and amazed at the beauty of this place.
I’m here to tell you that there’s no need to wait until your kids are older, you can do this hike WITH them!
…I can do what now?
The Narrows, although a very challenging hike, is absolutely possible with kids. We just did it with our 7, 5, and 2 year old children. Yes, we were outnumbered. No, we are not hiking experts by any means but if WE can do it so can you! It just takes a little preparation..
First, how do you get there?
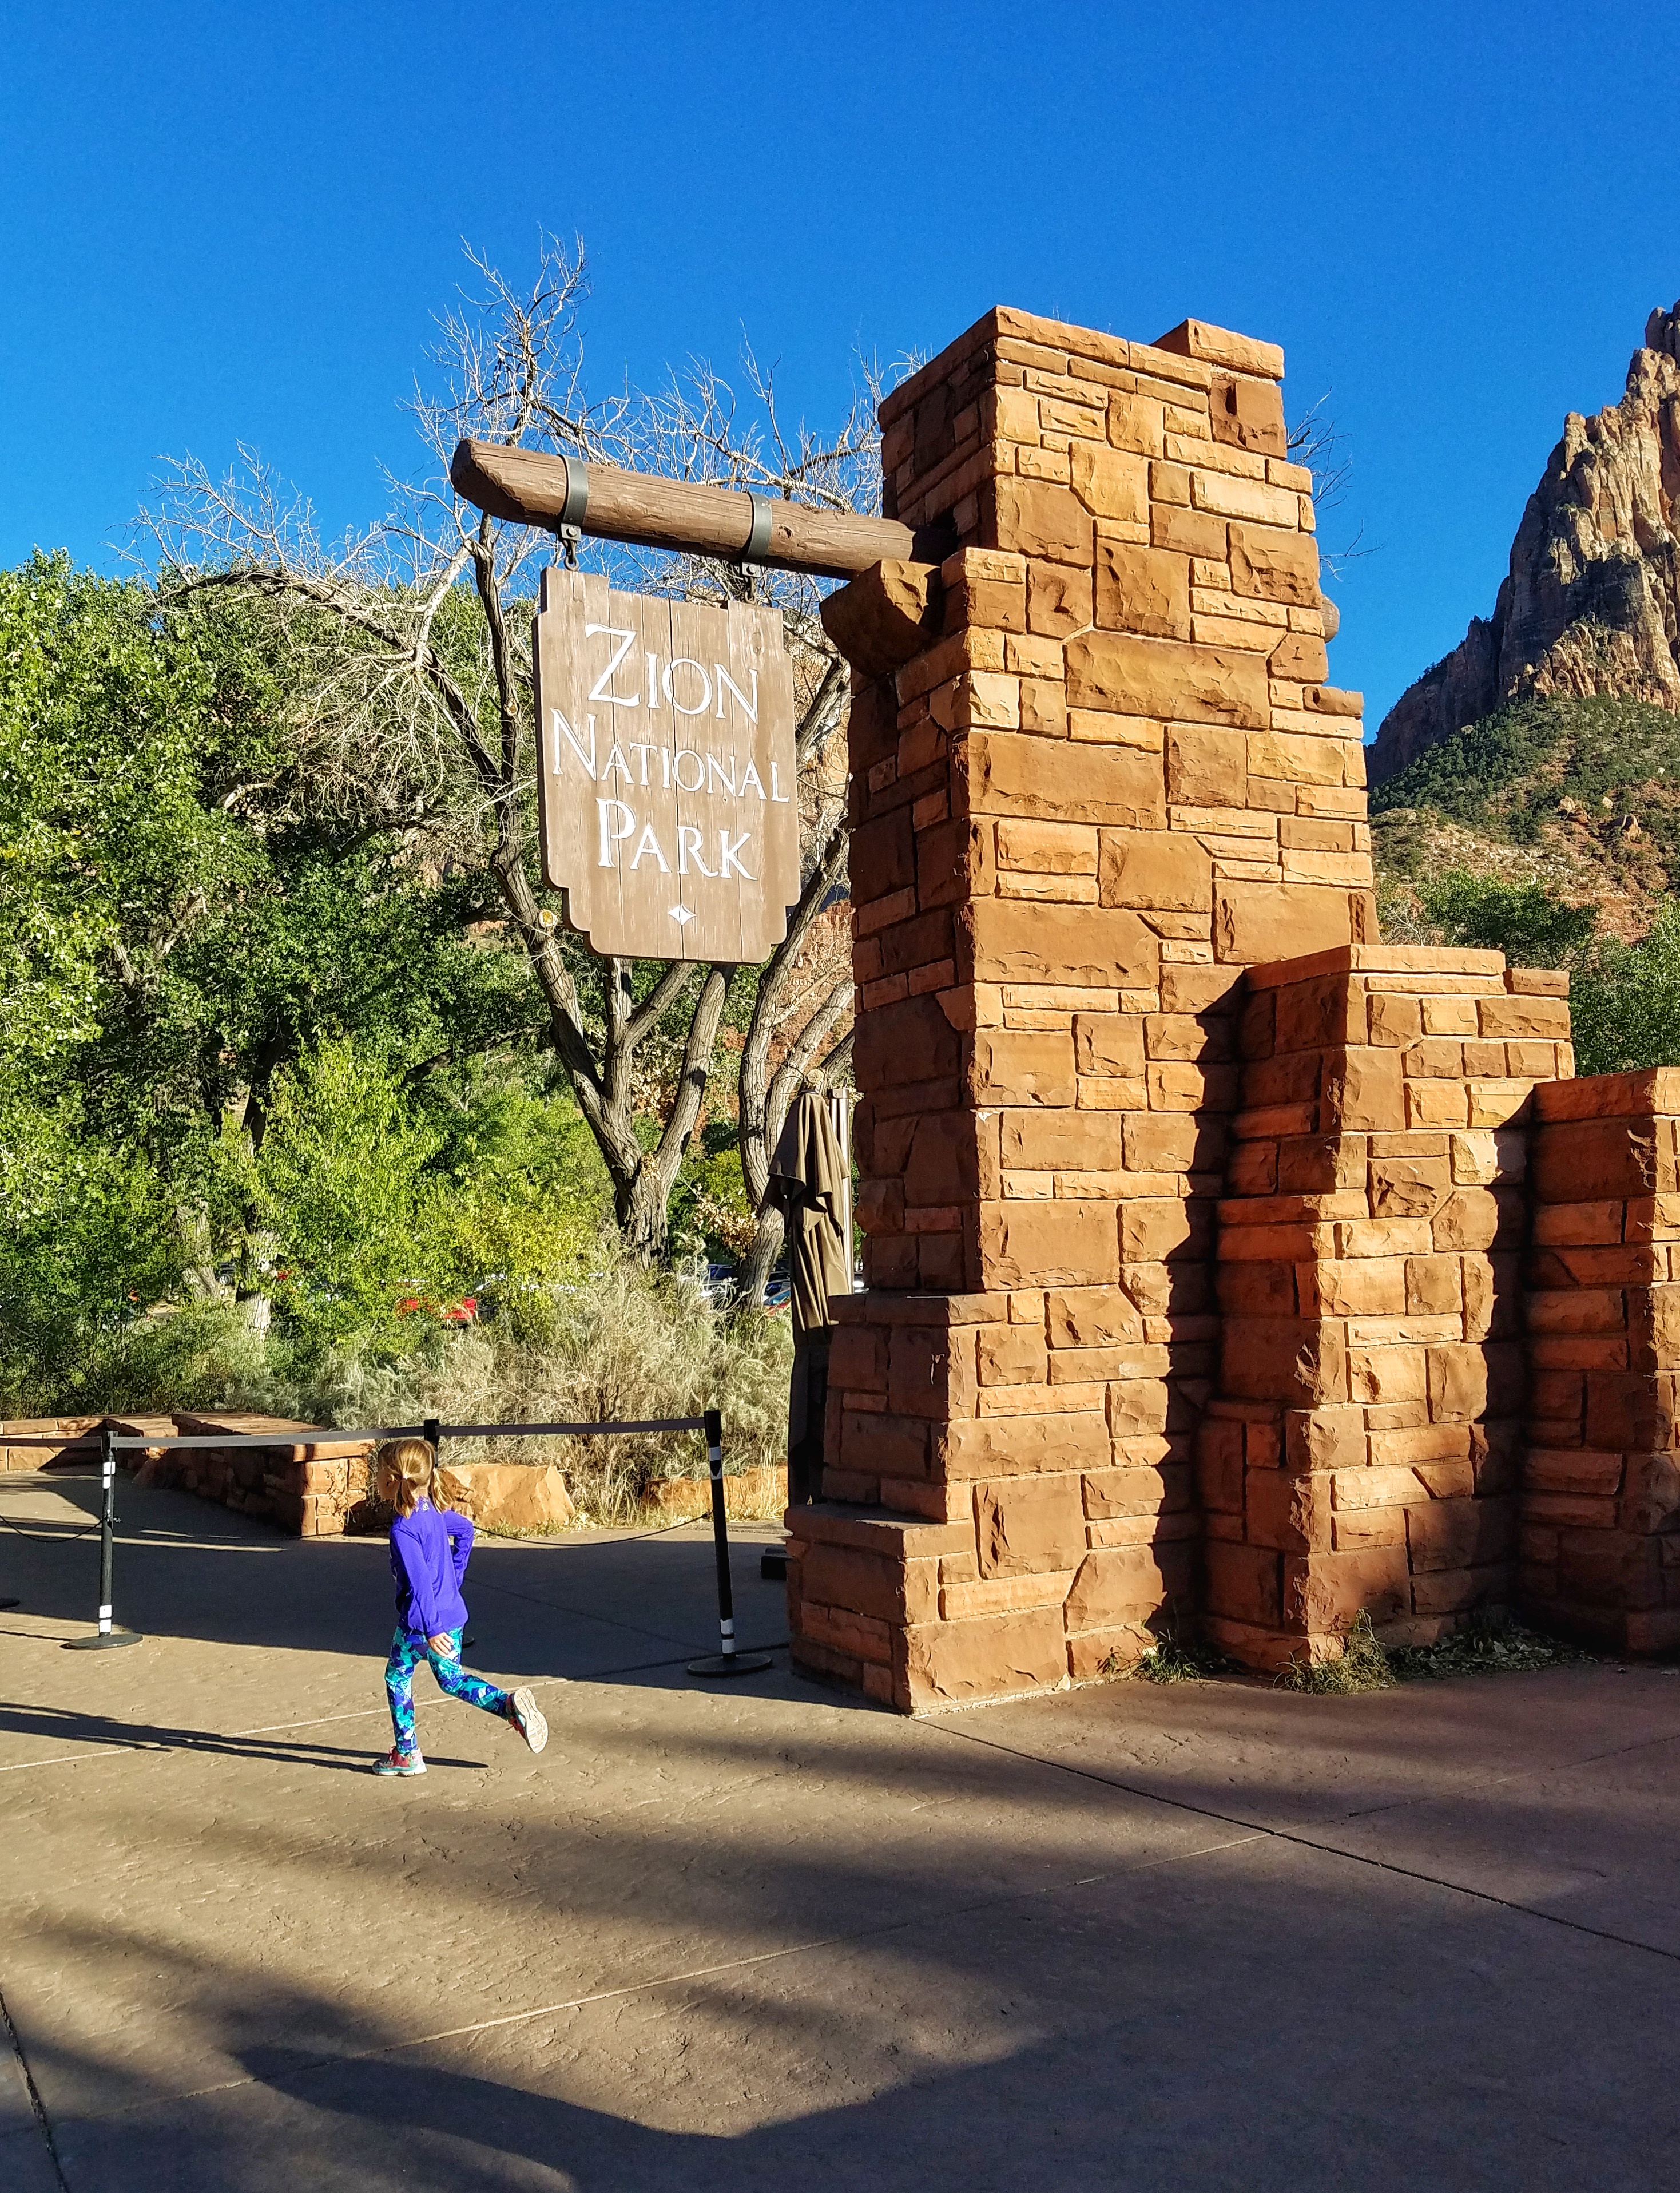
The Narrows hike can be done two ways- “bottom-up or top-down.” The top-down hike requires a permit and is much more lengthy, so if you’re going with your kids you’ll want to do the bottom-up hike. This hike is easily accessible by the park’s shuttle system.
To reach the Narrows to do the bottom-up hike, you’ll need to hop on the Zion Shuttle bus to the last stop at the Temple of Sinawava. Note: it takes about 45 minutes to get from the Zion Visitor Center to the Temple of Sinawava stop, so plan accordingly. Zion National Park is closed to private vehicles from February through November, so the only way to reach the trail is by using the shuttle, and you’ll need to park at the visitor center. Both can be very crowded during the day, so plan to go early!
For more information about the Zion shuttle and parking, visit the NPS website.
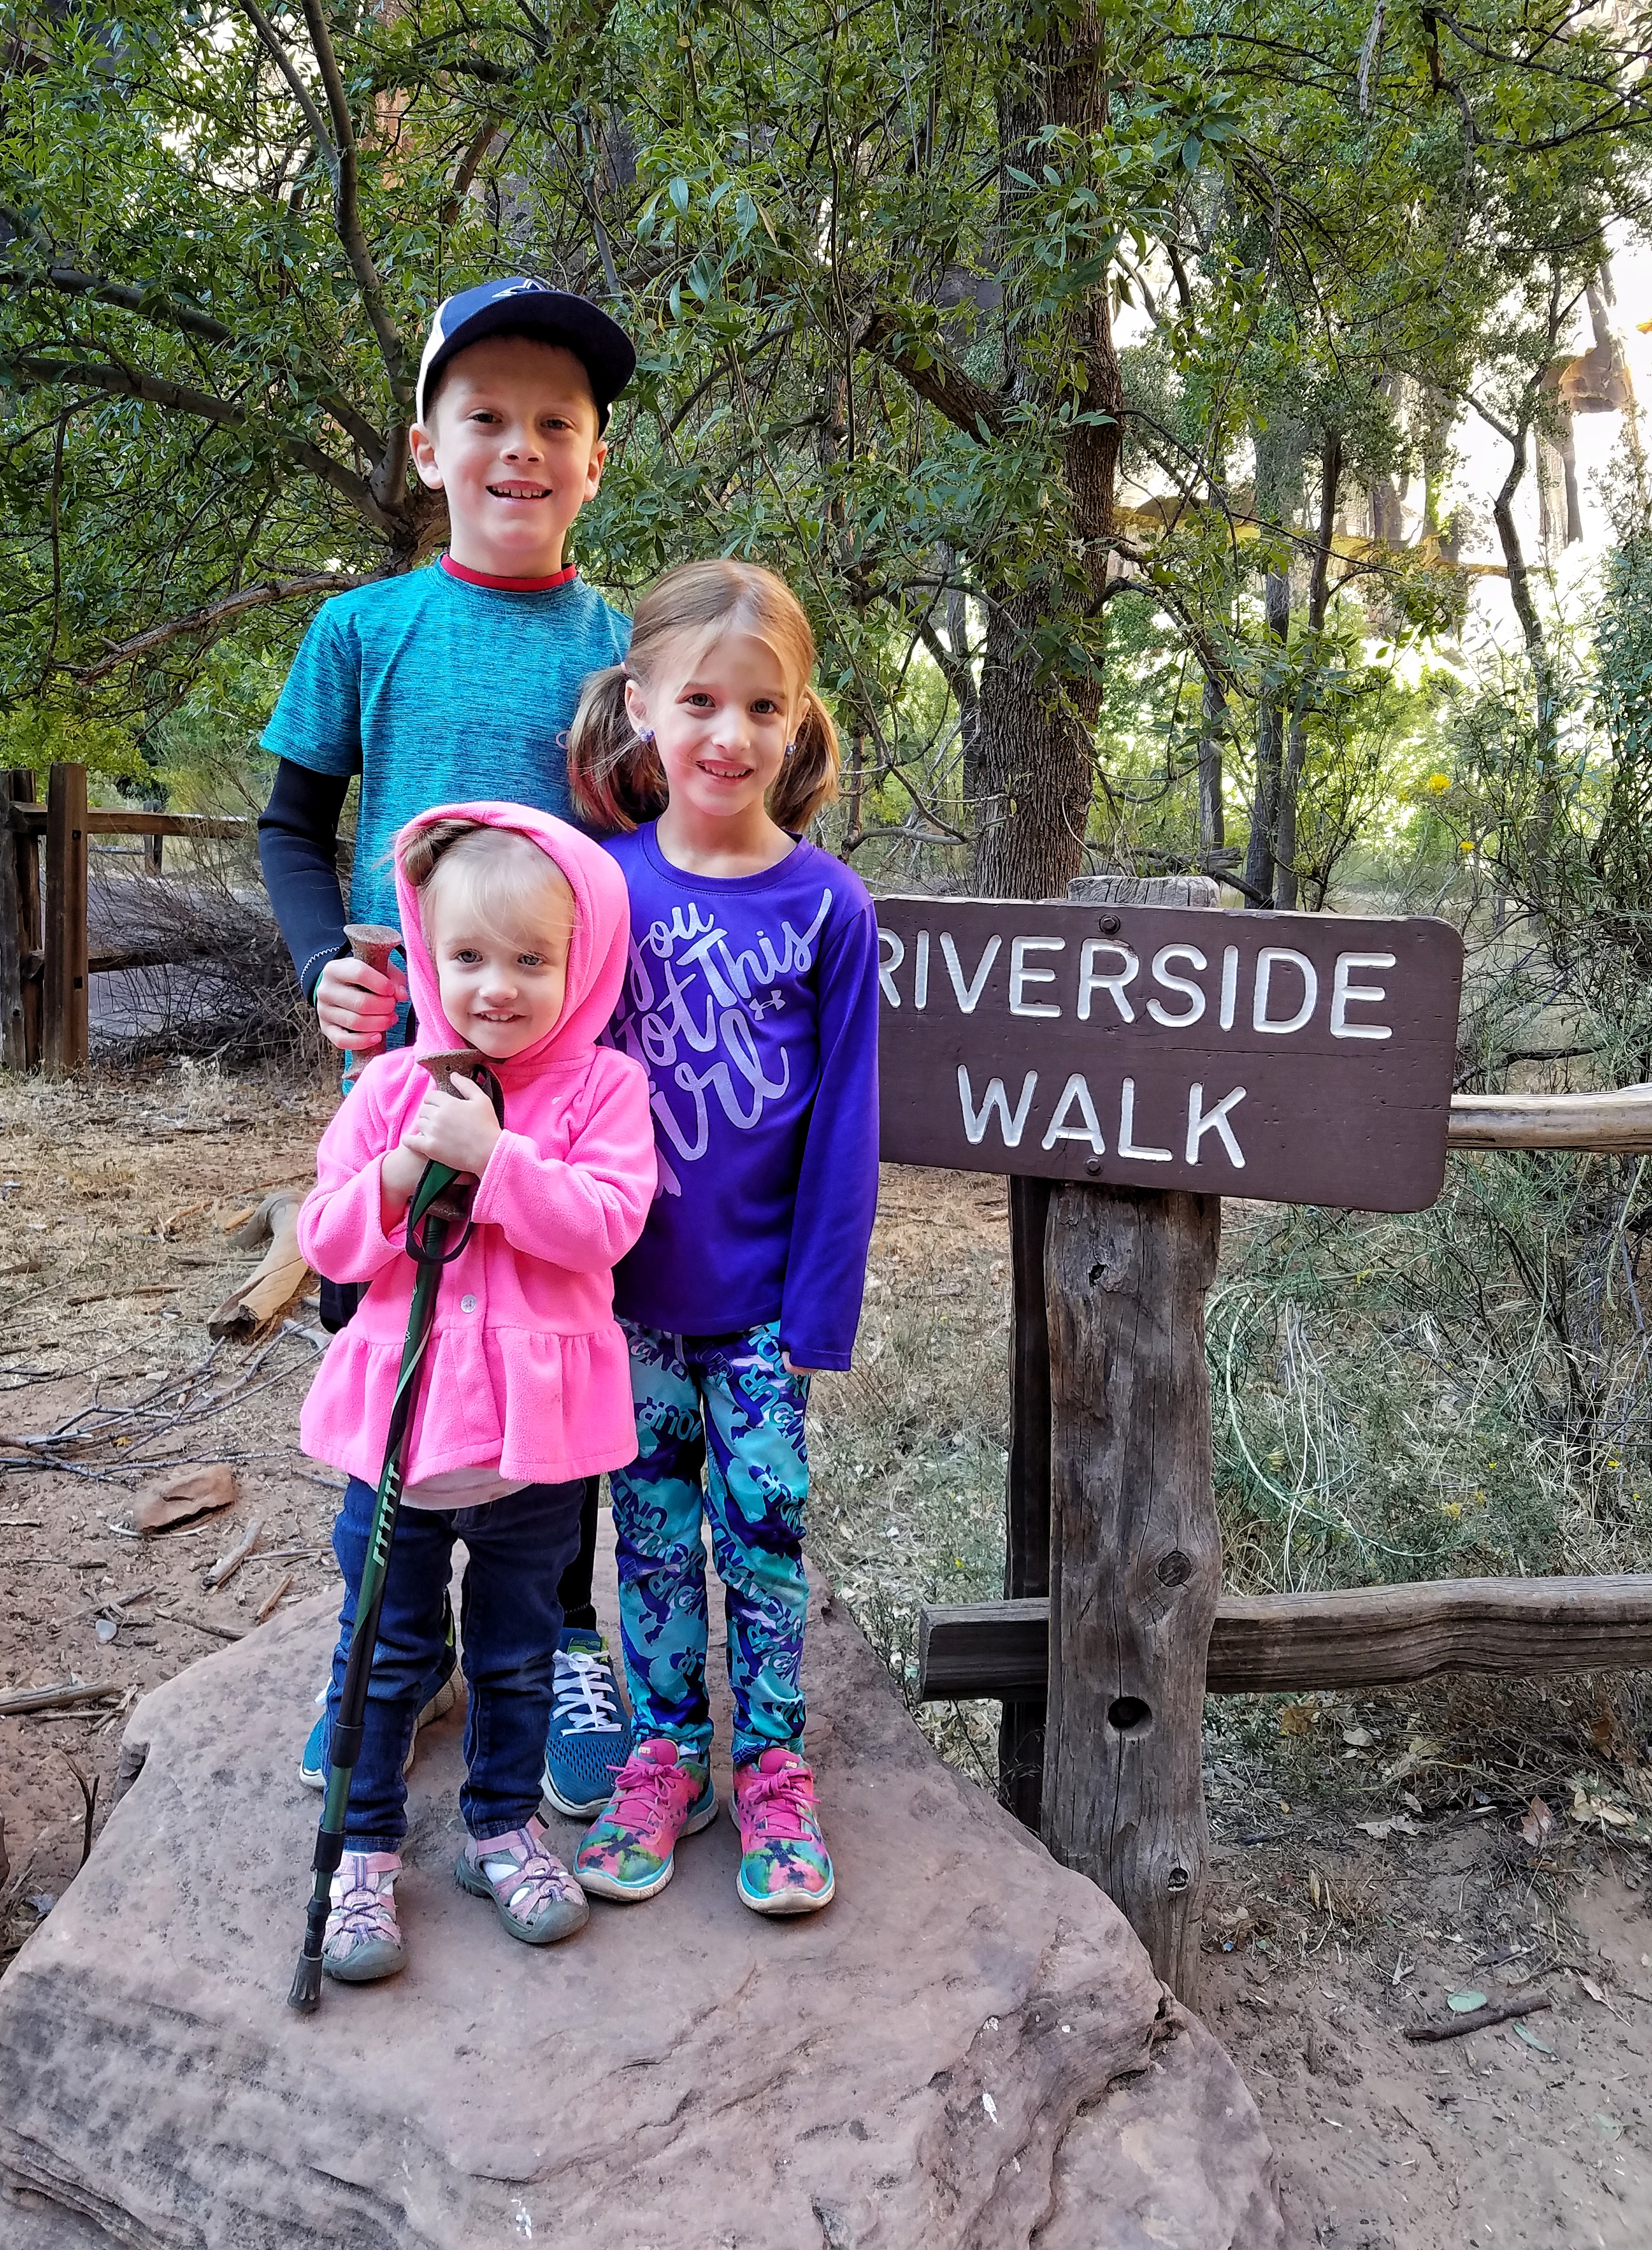
From the bus stop, you’ll walk the Riverside Walk trail (a very scenic, paved path) that leads to the start of the hike in the river. The river is the trail.
How far you want to hike is totally up to you. Simply follow the river upstream until you want to turn around. There are no markers on the trail, so using a GPS or watch to track your distance may be helpful. The Narrows trail is 9.16 miles long, but most people only go 2-4 miles up stream and turn around.
For reference, our goal was to make it up to Wallstreet, 1.5 miles upstream. We actually made it a little past the Orderville Canyon offshoot in Wallstreet and decided we needed to start heading back. This took about 2 hours from the start of the Narrows trail. The entire trek, from the start of the Riverside Trail to where we turned around in Wallstreet and then back to the bus stop, took us exactly 6 hours to complete.
Now that you know about how to get to the Narrows, let’s talk about…
…our best tips for preparing for the hike:
Have the right gear.
There are plenty of outfitter rental places in the area that will rent special gear including neoprene socks, hiking boots, pants, and more. They have kids sizes too! You should know that you don’t necessarily need these things in order to hike the Narrows. Whether or not to rent gear will depend on the weather, time of year, and the water temperatures. And of course, your personal tolerance to cold!
In the summer months, perhaps you don’t need to rent or buy any gear at all. The weather is very warm outside, but the river temperature will still be cold. Perhaps you’ll only need neoprene socks for comfort. Skip renting them and just buy a pair on Amazon before your trip, here.
For reference, we hiked the Narrows in early October and the water temperature was 60 degrees. For us parents, we wore your average running shoes. I’m not going to lie, the first 30 seconds in the river I regretted everything and thought there was no way I could withstand the freezing cold water for over 4 hours. But! We got used to it, and it wasn’t bad at all.
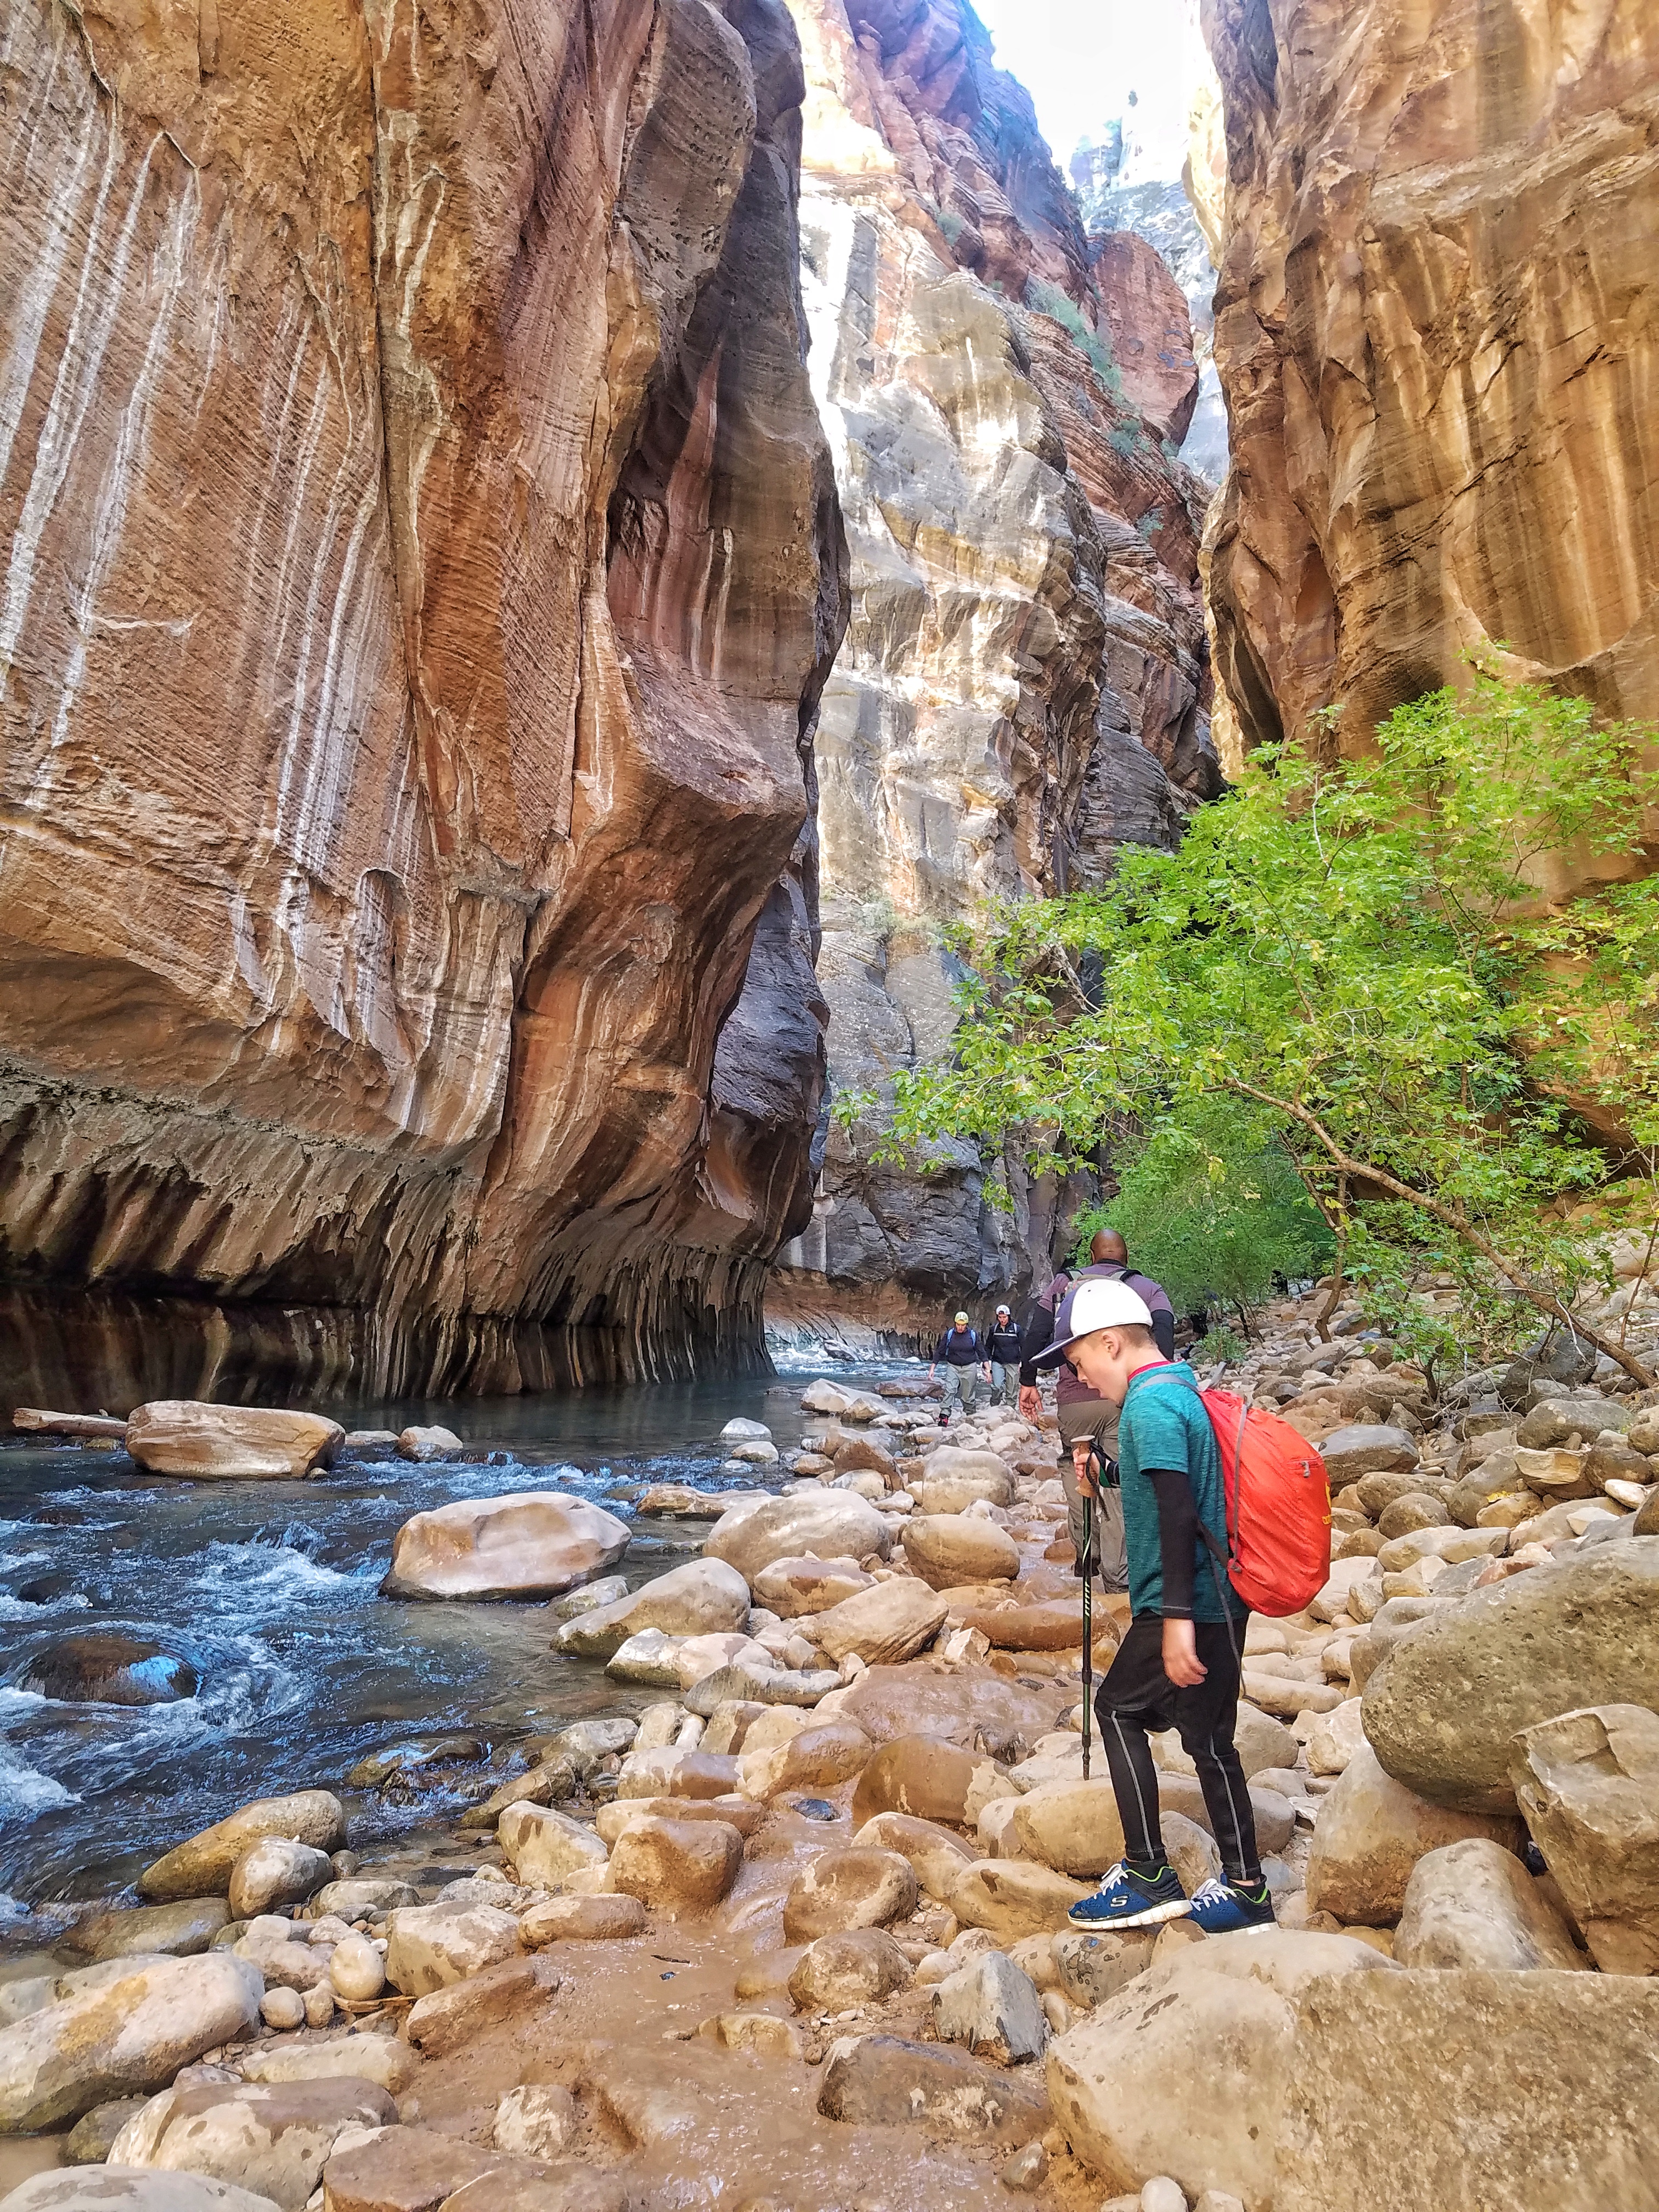
We did buy a wetsuit and neoprene socks for our son, who is only 7 and hiked the entire 6 miles. We found these and purchased from Amazon before our trip, which was still cheaper than a rental suit for him. We also saw a few hikers wearing wetsuits, so it is a good option! The wetsuit and kids size neoprene socks we brought can be found here and here.
Tips:
DO bring/rent a hiking pole. This helps tremendously with navigating walking on rocks and crossing the river. Since we want to get out and hike more often, we bought ours prior to the trip. There’s a good option on Amazon here.
DO carry a drybag… for your lunch, phone, snacks, diapers, etc. No one likes soggy lunch or diapers! Since we had kids on our backs, we had our 7 year old carry the bag.
Do dress in layers. The water temperature will make you feel really cold, and so will walking in the shade. There are some parts of the trail that are in the sun, and you’ll be warm! In the summer months, shorts and breathable shirt will be fine. However in the cooler months, you will want a long sleeve top or jacket. Keep an eye on the weather forecast and be the judge of clothing.
Do wear the right shoes. Running shoes or trail shoes (closed toe) with good tread.
Know the warnings.
Flash floods in the Narrows can be deadly, so take the warnings seriously. Zion NPS will post their projected flash food warning level every day. If there is a chance of a flash flood or high water levels, don’t take your kids. You can check the flash flood warnings here.
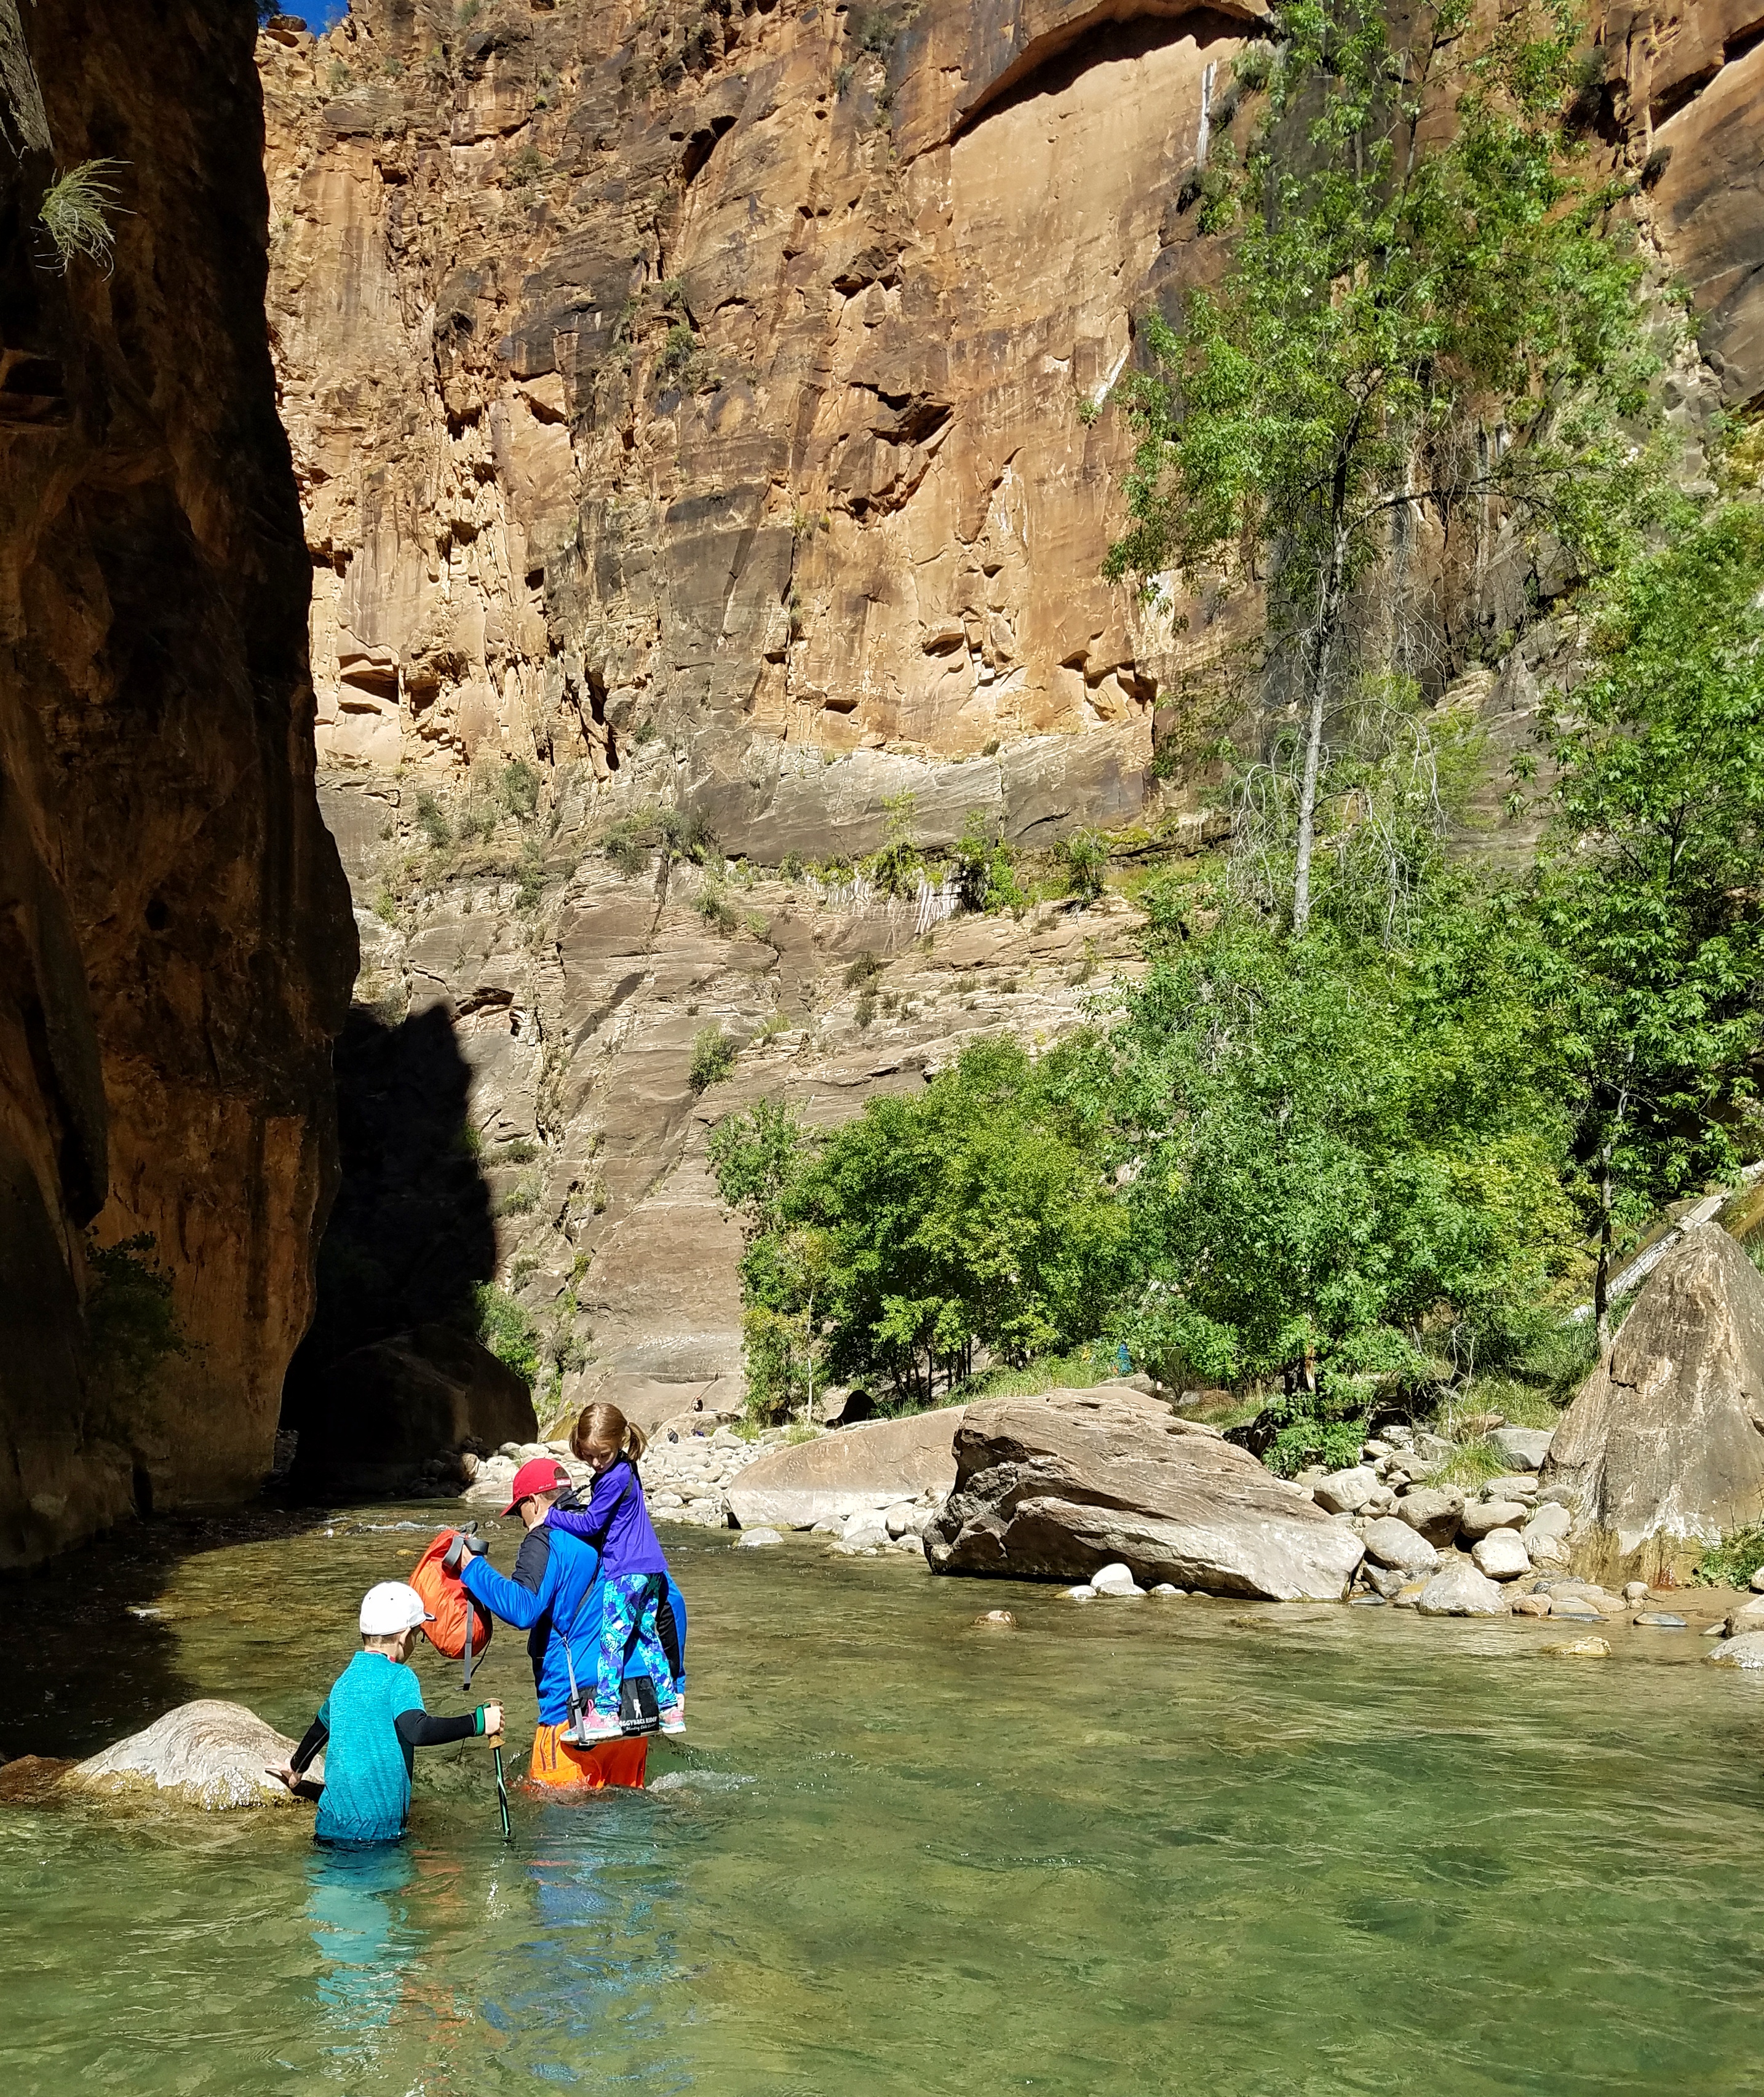
When we visited, the deepest parts of the water were only about hip-level. The water came to our son’s belly button.
Know the flow rate.
The flow rate is how much/fast the water is moving down the river, and is measured in cfs (cubic feet per second). The flow rate varies by season and even by the day depending on the weather conditions. The flow rate impacts how high the water levels can be : the higher the flow rate=the higher the water level. You can check the posted flow rate here.
When we hiked the Narrows in early October, the flow was in the mid 40s. This was almost too much for our 7 year old to withstand on his own without falling over as he was getting tired later in the hike. Most of the river was ankle or shin deep, but there were parts that the water level was above his belly button. I wouldn’t recommend children hike the Narrows with current flows greater than 50cfs.
Use the bathroom before you start!
Use the bathroom at the Temple of Sinawava bus stop. Obviously there are no bathrooms on the trail, except for the bushes! Purchase a Cleanwaste Go kit or similar product and take it with you so you can pack out solid waste (see #6). You can get them in the outfitter stores for about $5 or buy them cheaper online ahead of time.
Pack a lunch.
Pack plenty of water, snacks, and a lunch. There are many wonderful river banks to take a break and eat mid-hike! Since water can get heavy in a backpack, we opted to bring our own water filter and we pumped water straight from the river. You can purchase our portable water filter here.
Leave no trace.
Bring a few airtight bags to put dirty diapers (or trash) in during the hike, so you don’t have to smell them the rest of the trek! If you have a day like ours, be prepared to pack up your older child’s poop and hike it out. There’s a memory I want to erase!
Go Early.
Especially in the summer months, this hike is very popular. The shuttles start early in the morning (check schedule) and the trail gets crowded! The parking lot at the visitor center will get full and parking could be an issue the later you go, not to mention the lines for the shuttle! Going early will ensure you have plenty of time to enjoy the hike without rushing.
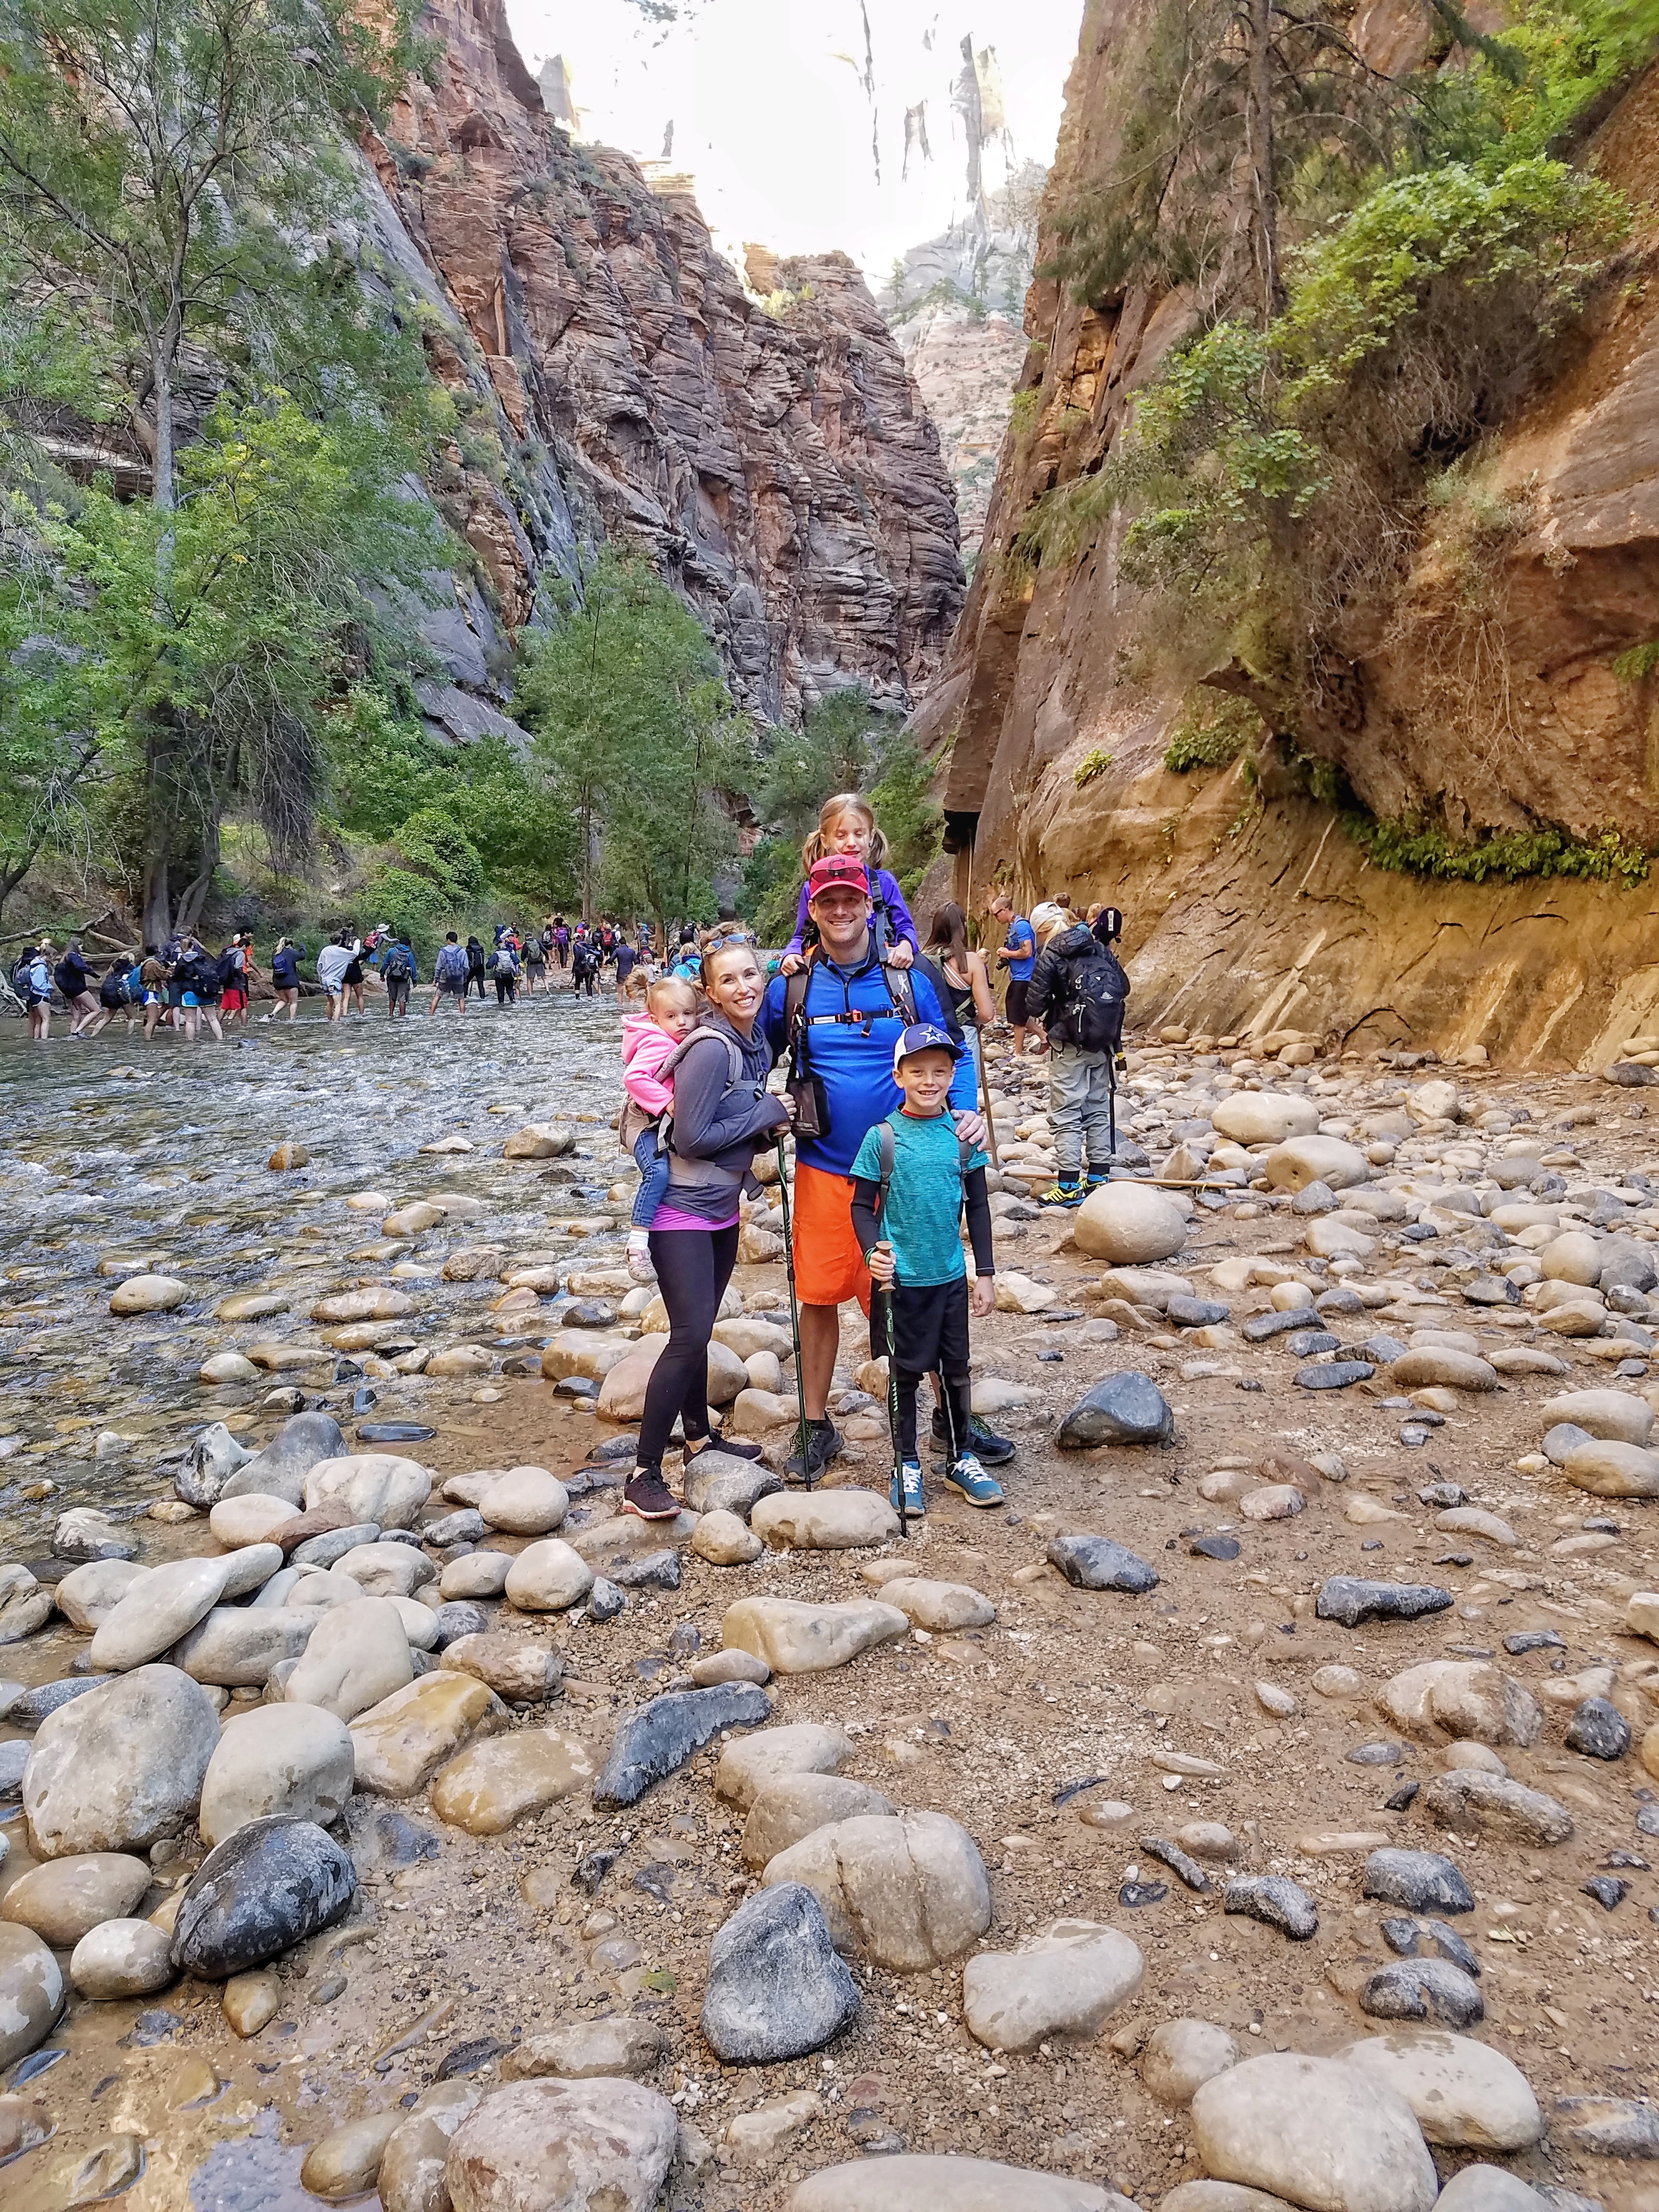
This is at the very start of the Narrows at 11am, you can see the crowds of people in the background.
Keep everyone happy!
What to do when your toddler/kids are over the hike, and you still have a ways to go:
-Play the eye-spy game
-Sing fun songs
-Have a dance party
-Stop and eat a snack
-Stack stones
-Talk about the ice cream or treat you’ll enjoy after the hike.
What about hiking with younger children?
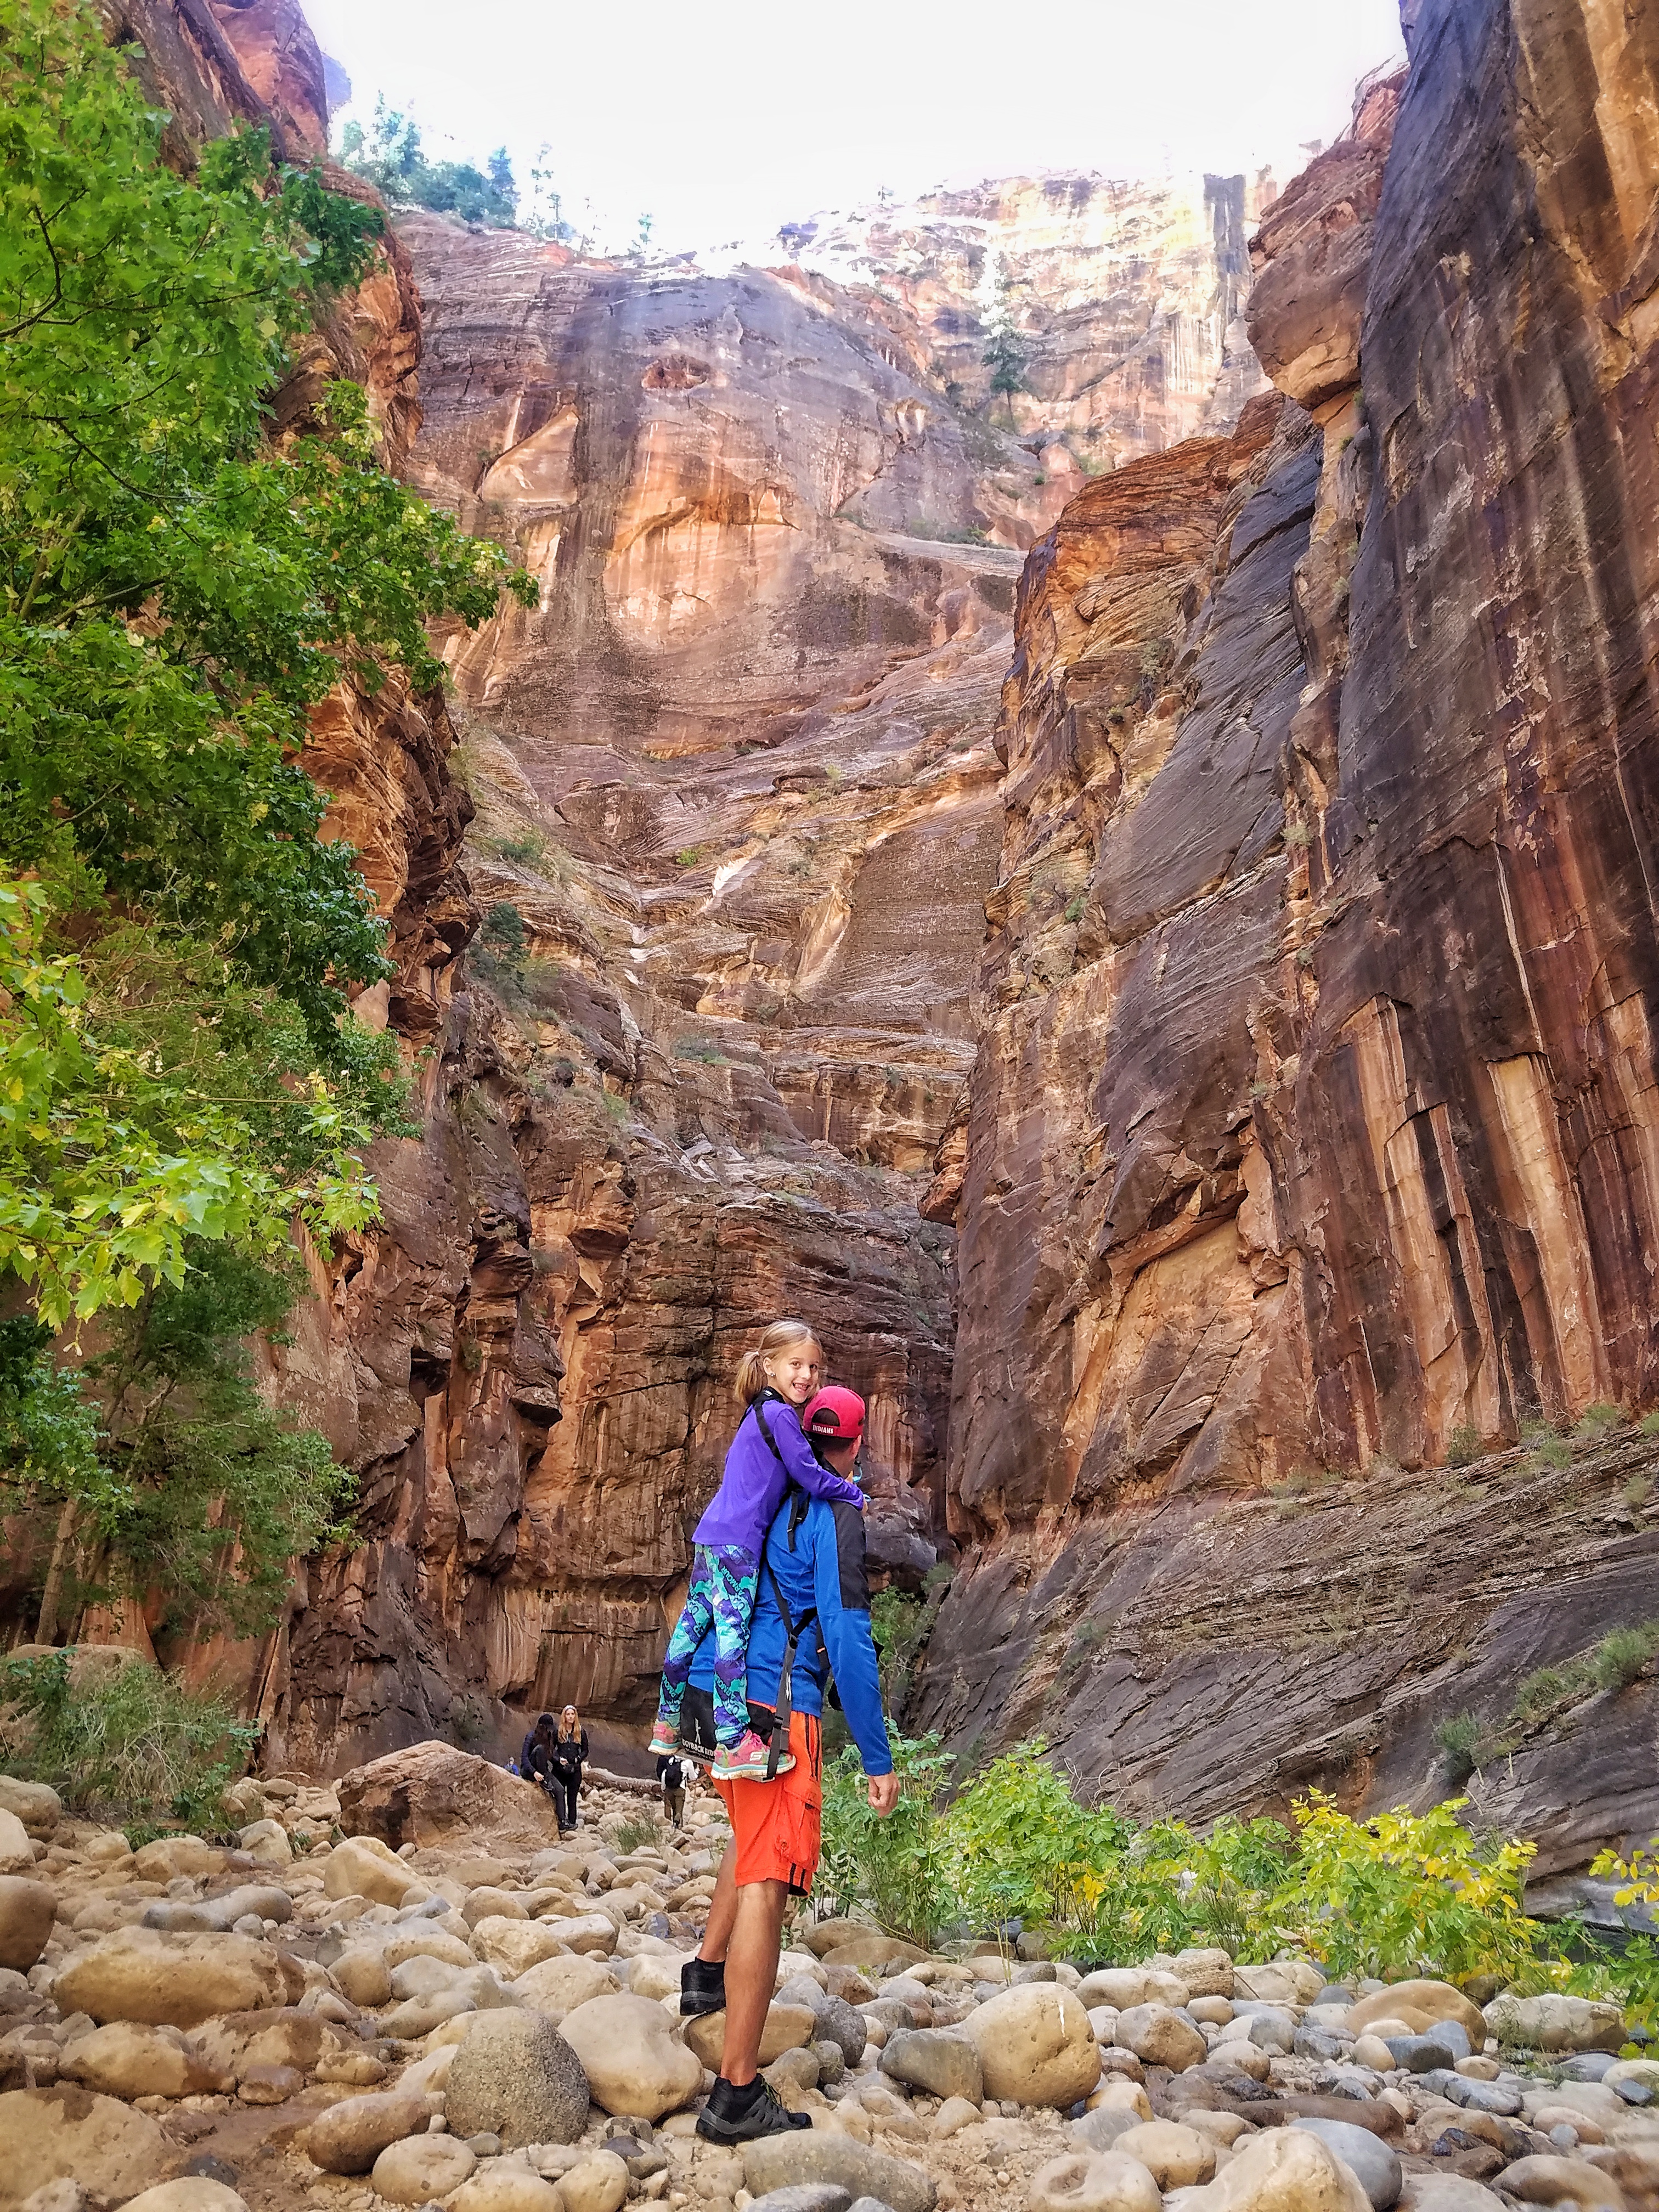
Our 7 year old was up for the 6 hour hike, but not our younger daughters (ages 2 and 5). We carried the girls on our backs for the entire trek, minus the few breaks along the riverbanks.
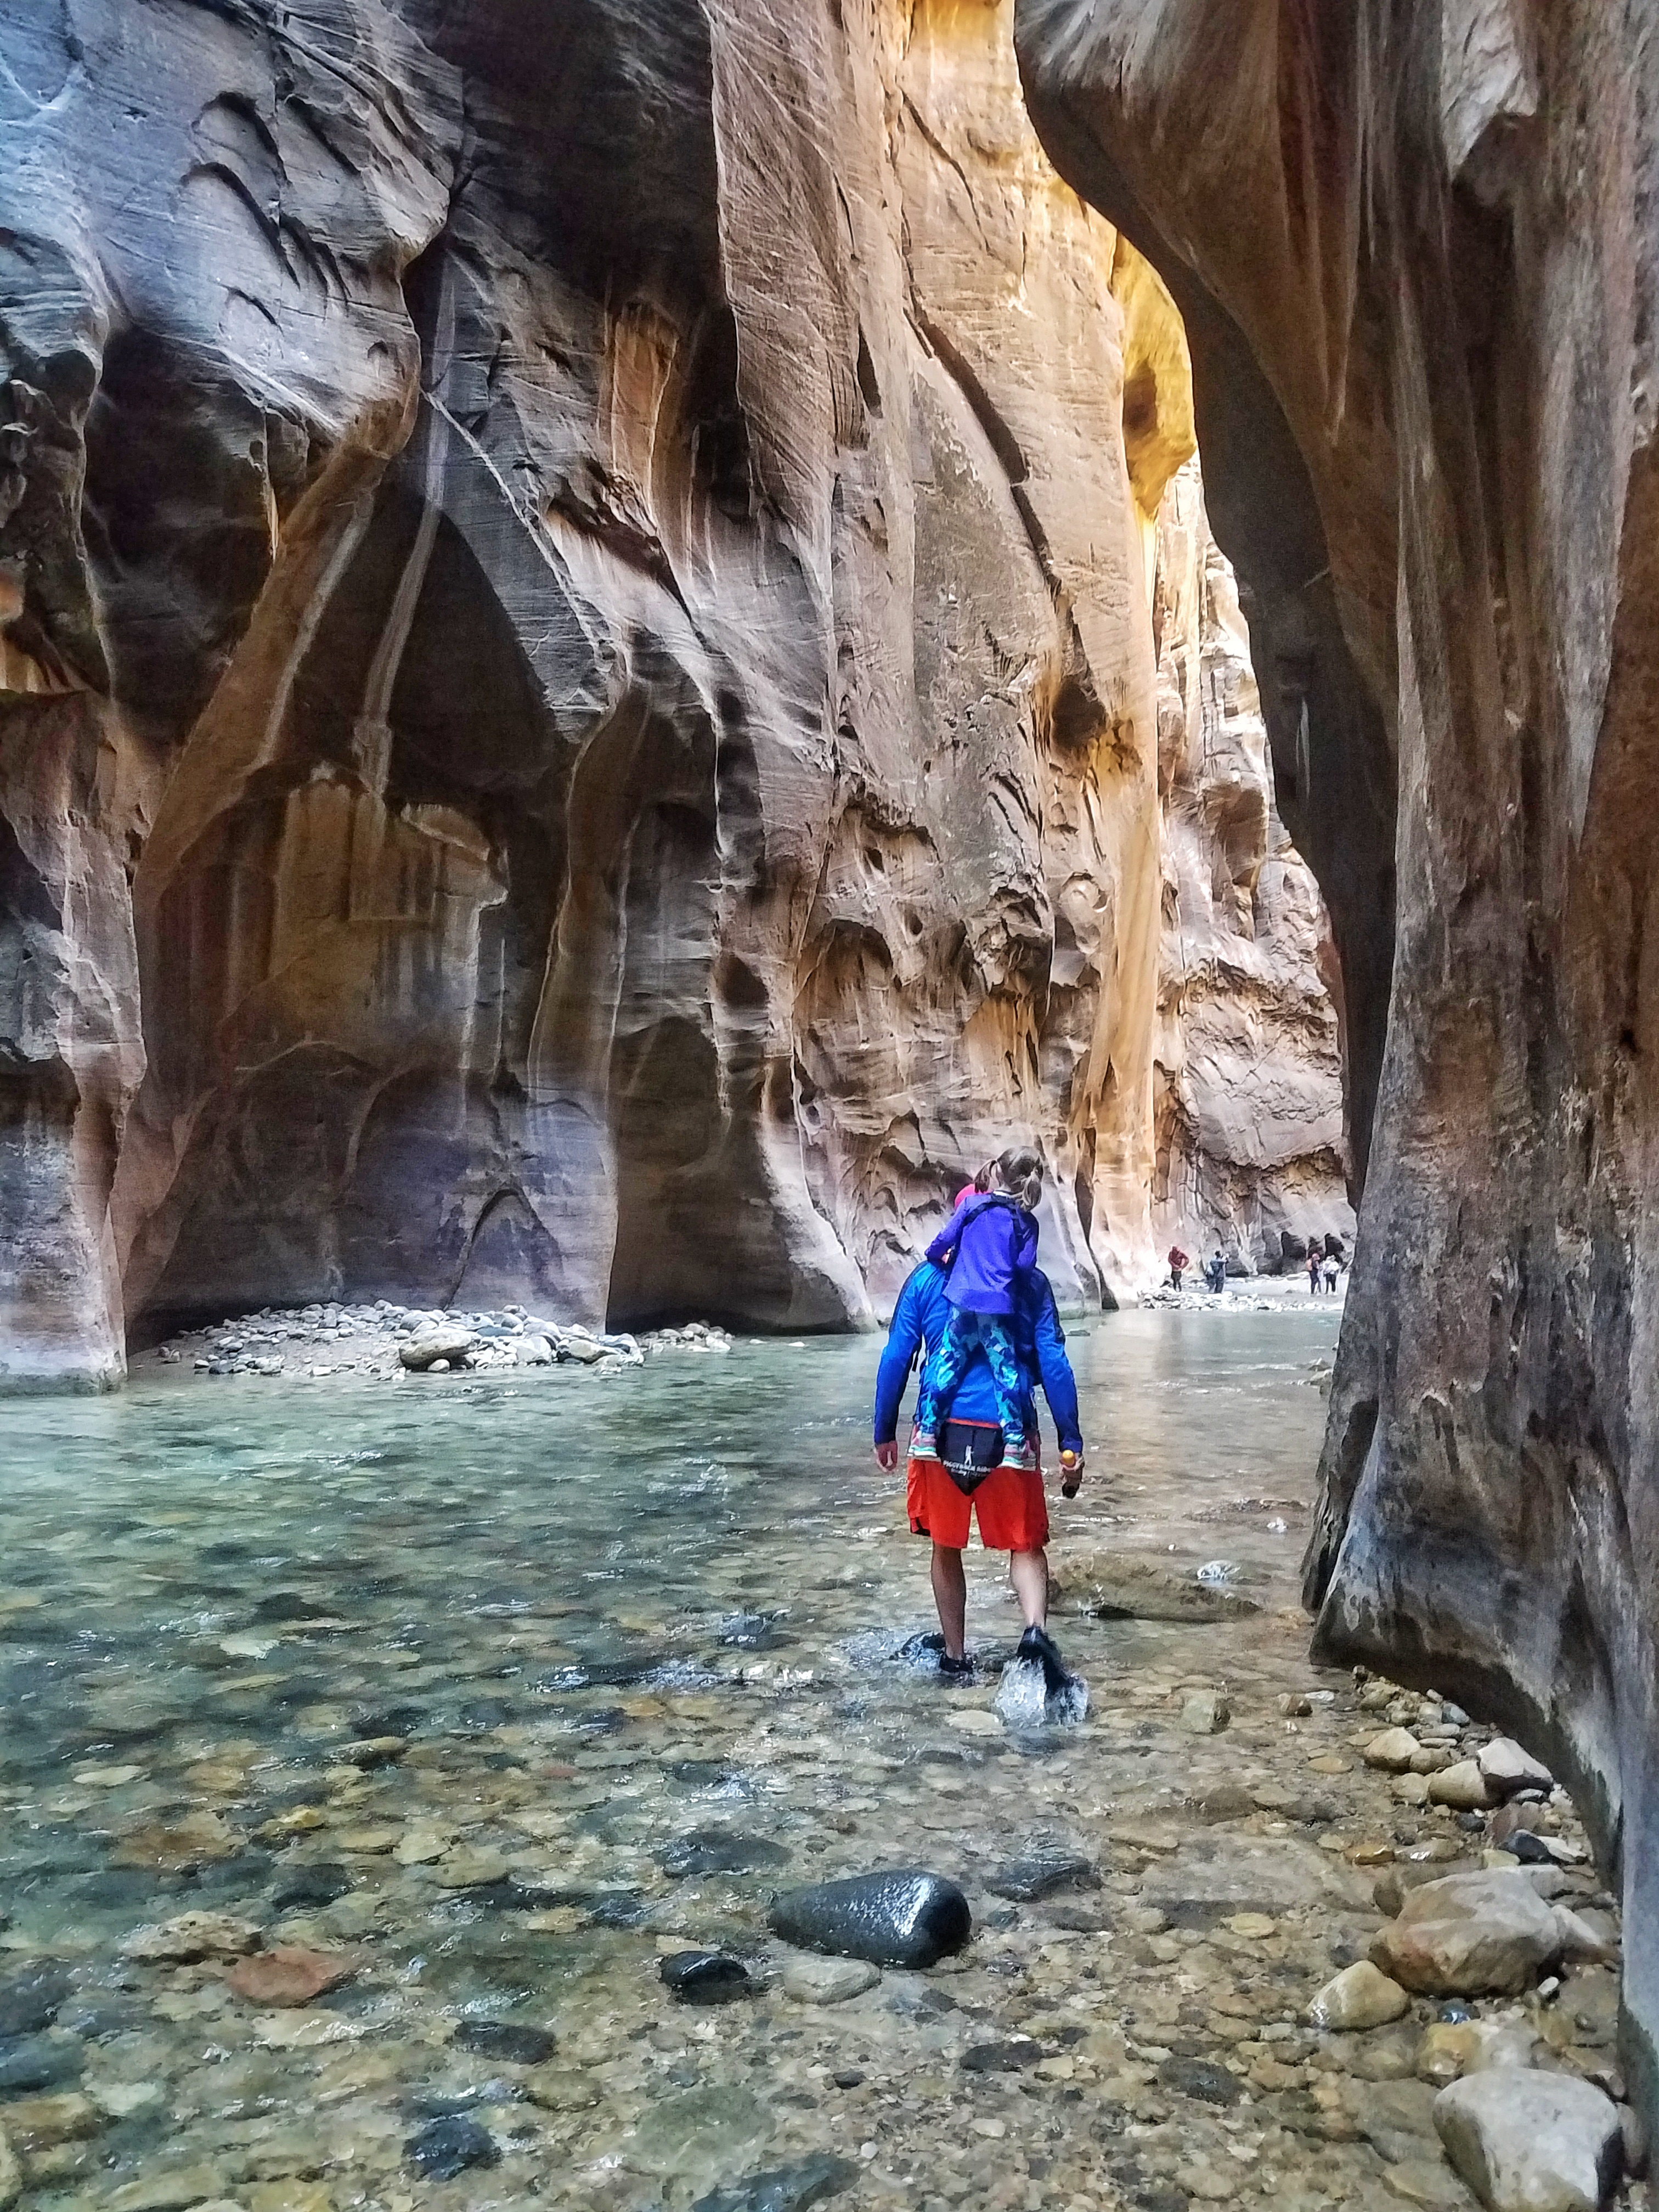
We used The Piggyback Rider to carry our 5 year old. This thing is genius. It’s designed to carry children ages 2-4 (or weight limit up to 50lbs) safely on the parents back. The parent wears the Piggyback Rider, and the child wears a harness that clips into the parents strap. There is a bar for the child to stand on, and handles for them to hold onto on the parents shoulders. Our daughter rode the entire way safely, without getting wet, and she had the best views! To take a break, we simply unclipped the safety clips and dismounted. And yes, it was comfortable for daddy for the entire hike!
You can purchase the Piggyback Rider on Amazon here.
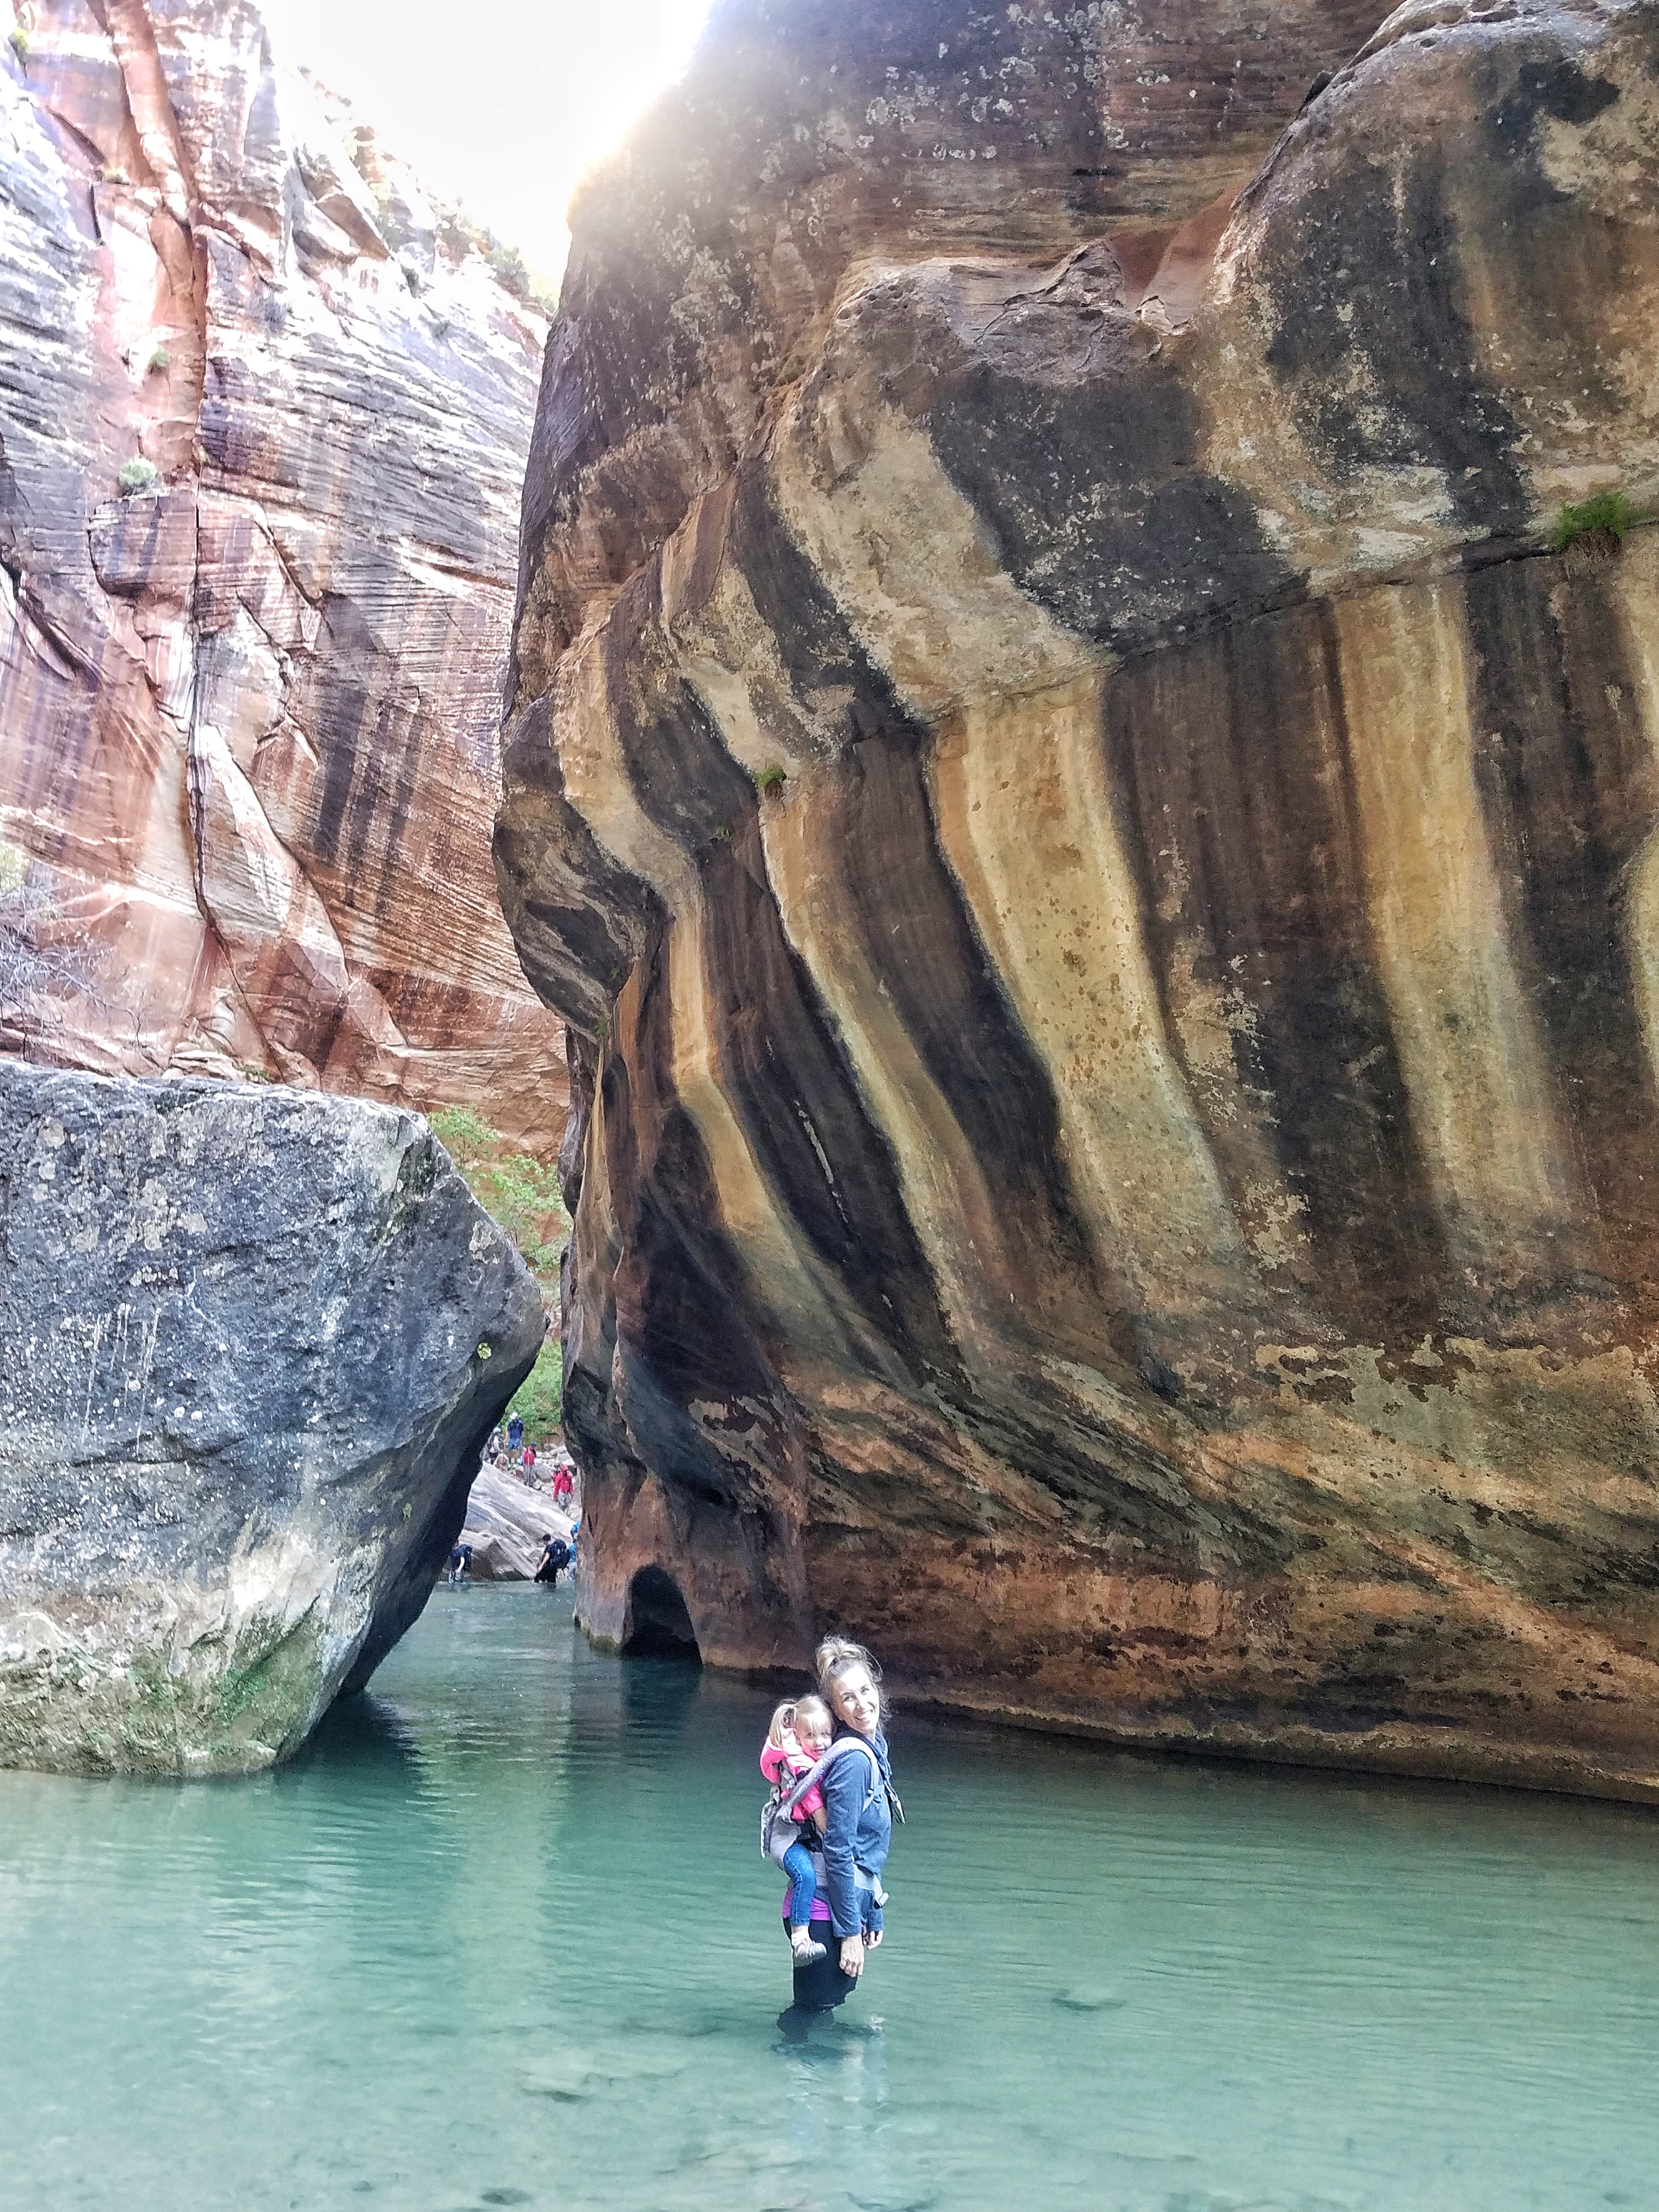
To carry our 2 year old, I dusted off my old Lillebaby carrier. I know how comfortable this carrier is, so I trusted it would be great for 6 hours of hiking! I saw a few parents with hefty, big-name baby hiking packs on the Narrows hike. I chose to bring my Lillebaby because it was small and easy to pack into my suitcase on an airplane and also transport on the Zion shuttle buses. Convenience always wins in my book! Any comfortable baby carrier will do, but if you don’t have one, I highly recommend the Lillebaby Carrier, which can be purchased here.
That’s all folks! I hope you are encouraged to enjoy a family hike in the Narrows of Zion. Just a little bit of planning will make the trip less stressful, more fun, and enjoyable!


13 Comments
Leave your reply.